

5 Tips for making your Instagram feed look good + cohesive (without filters & presets)
One of the top questions that pops into my DM’s is “What Instagram filter/preset do you use?” And to answer that question right off the bat — I don’t. I’ve tried. Believe me, I’ve tried. I’ve purchased expensive Instagram filters and inexpensive Instagram preset bundles and I just can’t seem to make them work for me (or I can’t find one I love enough to keep it for an extended period of time.)

So before I get to some tips for making your Instagram feed look good, cohesive and beautiful, let’s talk about Instagram photo presets for a second…
Here’s the thing with presets + filters:
In order to make all of your photos look alike, you’d have to be shooting photos in the same type of lighting every single time, which of course isn’t plausible. Whether you’re in the shade or the sun, a simple applied preset won’t fix lighting differences. If you’re inside or outside or heck, in one room in your home or another, the lighting will be different. Whether it’s morning, midday or evening, a simple preset cannot just be applied and make every photo look the same because there are so many other factors involved, especially for those of us who aren’t professional photographers (ahem, myself). So while presets are a great start, making your Instagram feed look cohesive, it takes more than just a preset — adding warmth or coolness to the image, brightening, adjusting shadows, etc. It’s not just a simple click of a button like so many people think.
With all of that being said, I’m not against filters and presets. I think they’re a great base if you find one you love! But in order to actually make your Instagram feed look cohesive with a beautiful Instagram preset, you’ve got to put a little more work in than you may have thought.
So now let’s get to it:
How do you make your Instagram feed look good and cohesive without relying on filters and presets?
1. Choose like-colored backgrounds.
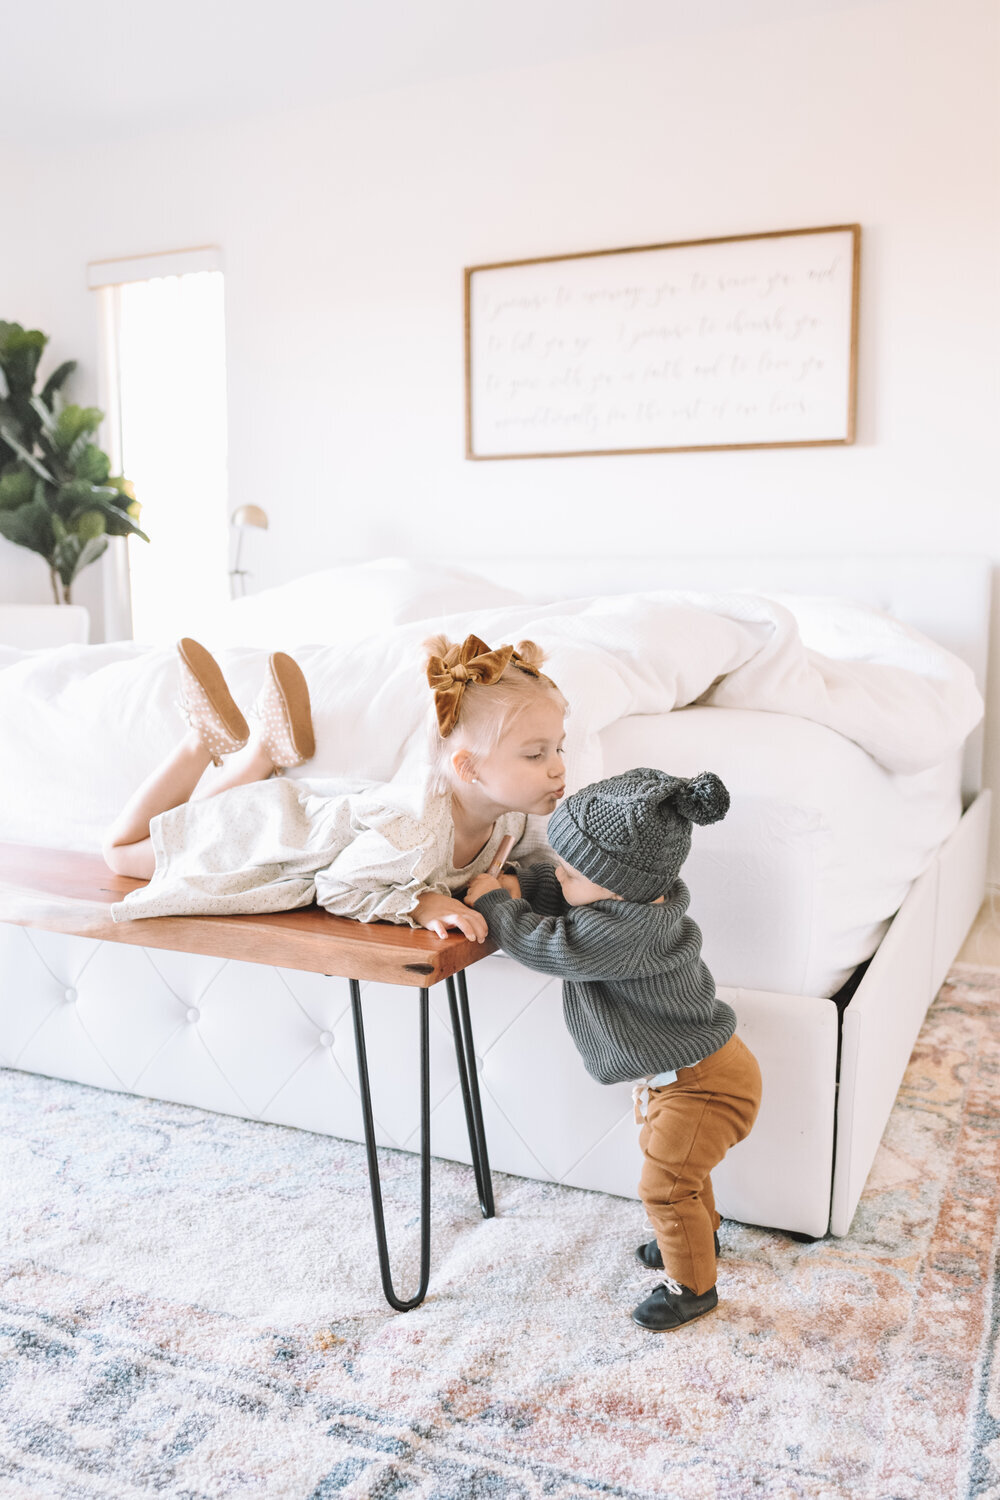
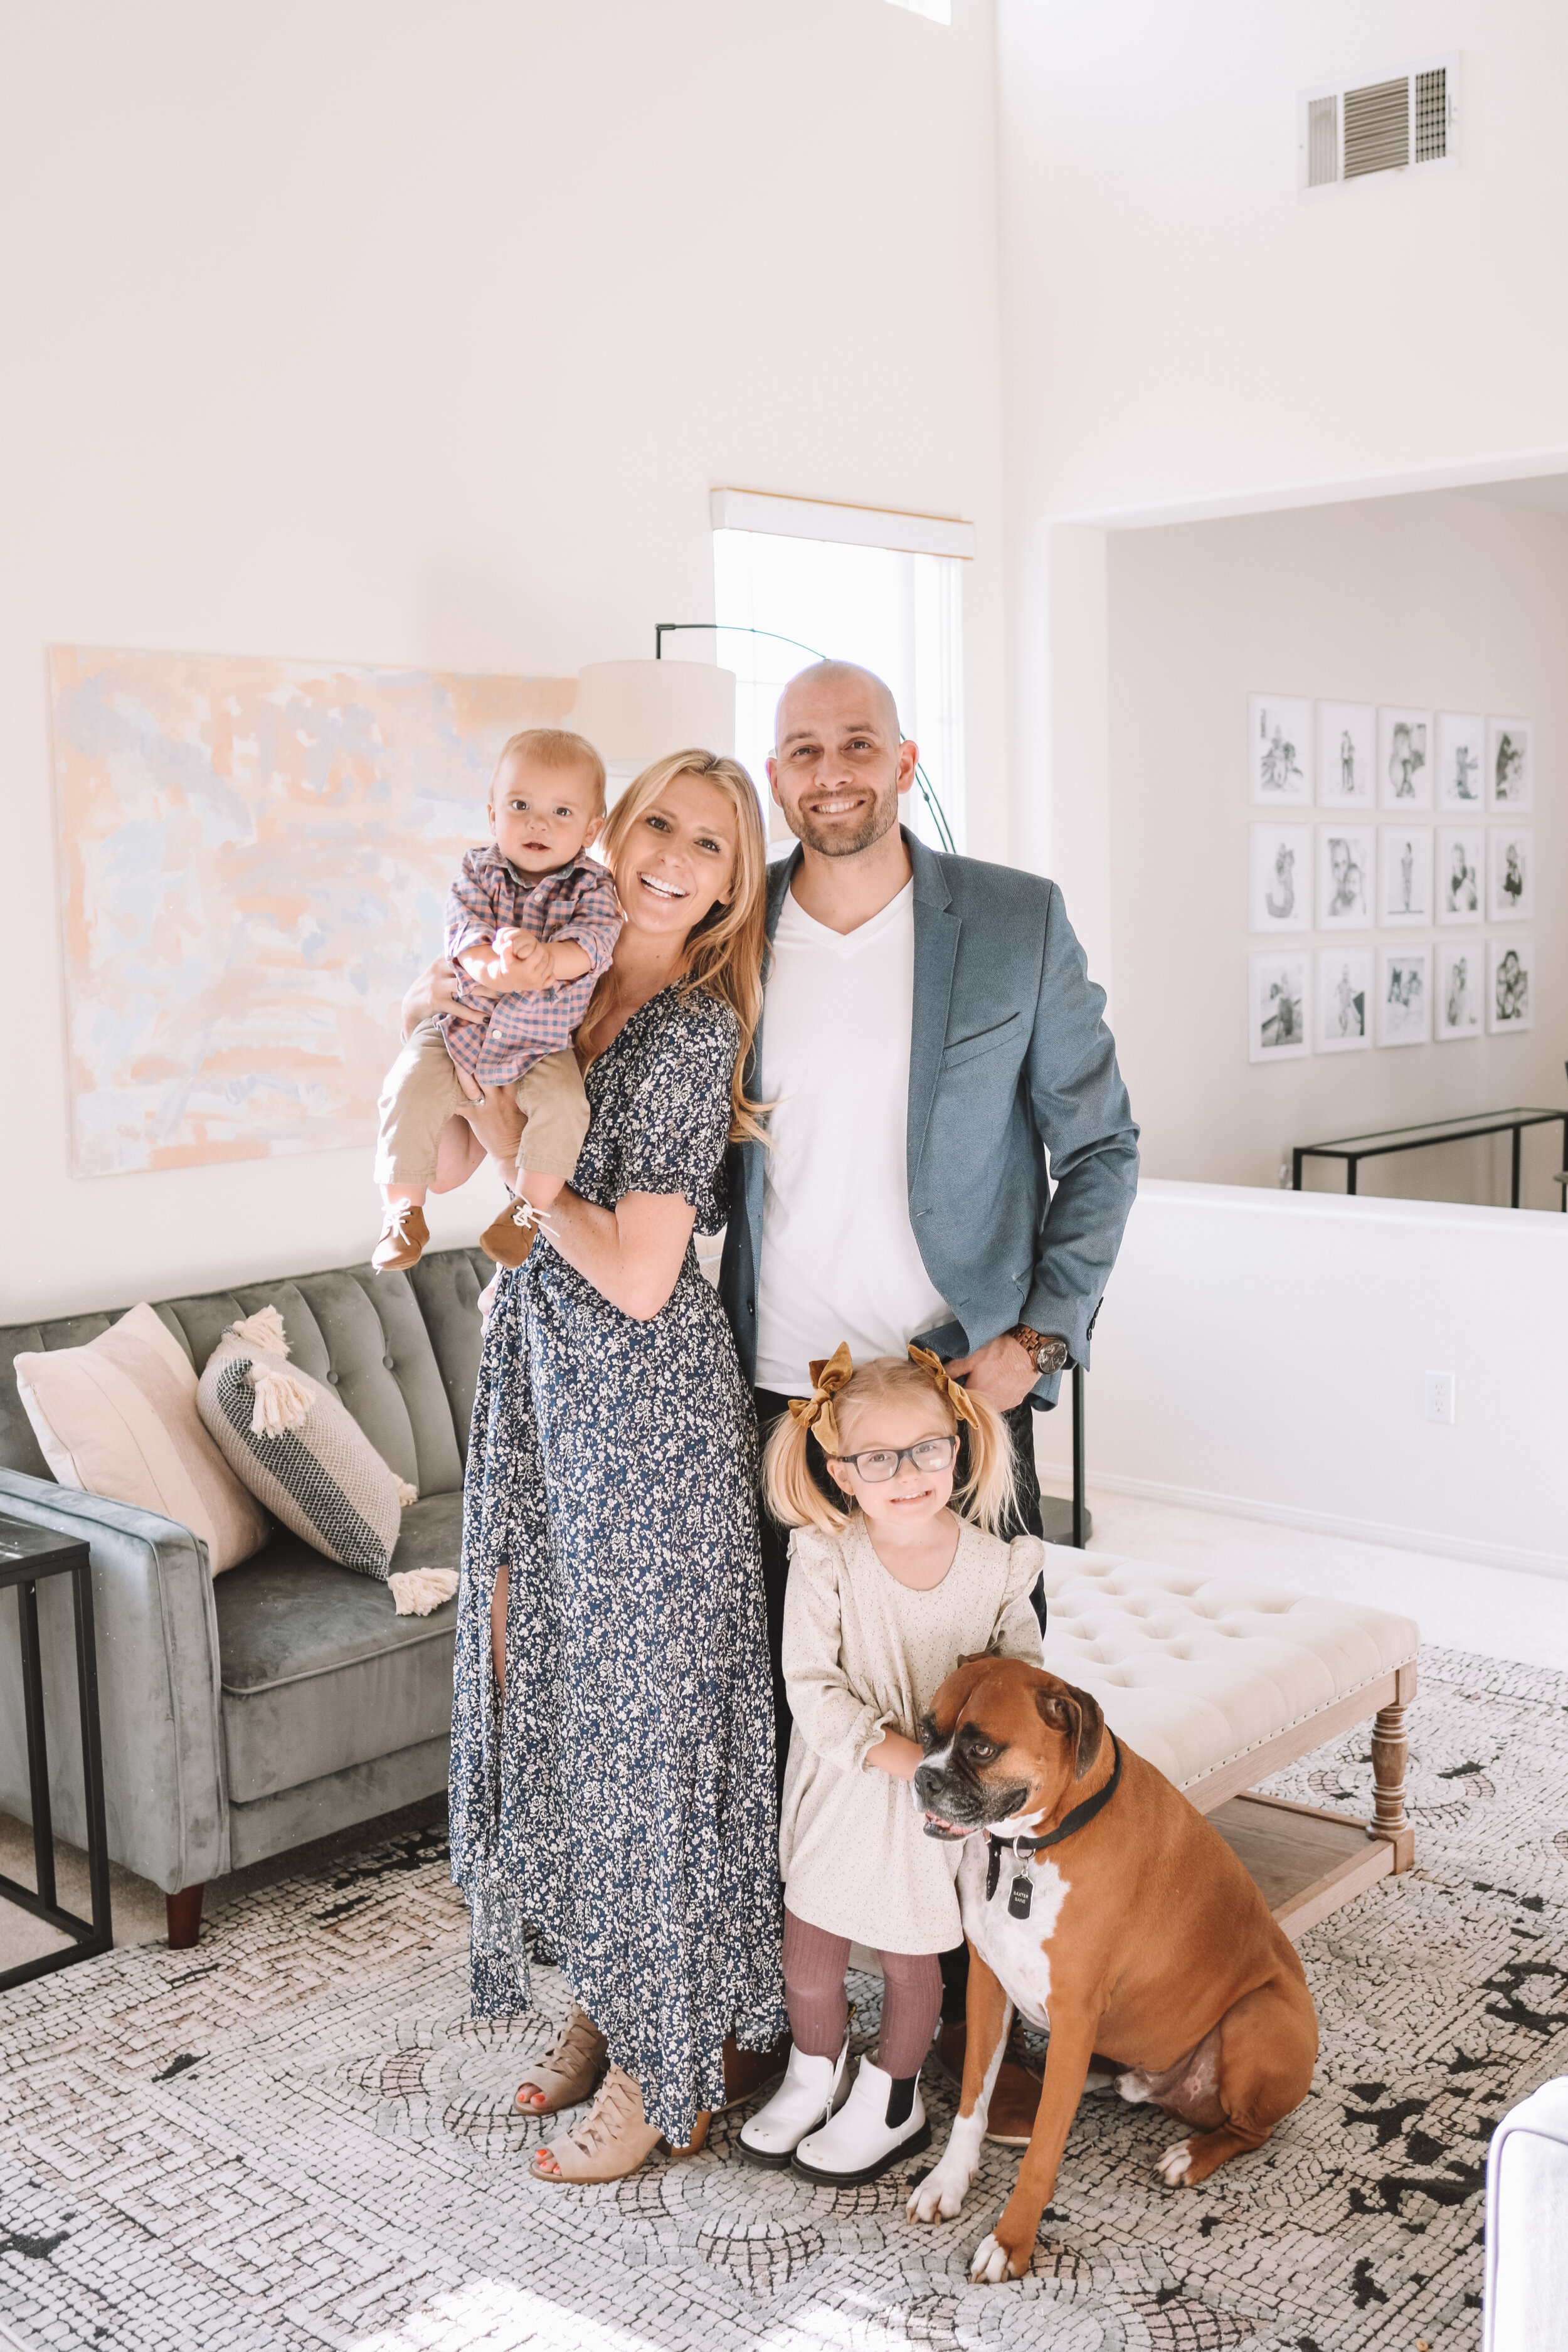
Look at my Instagram feed. What do you notice about the backgrounds? They’re all white — white, white, white. Now I’ve got some light tans in there, very light tans, and I’ve got some skies that are shot directly into the sun to make the sky appear a white tone but for the most part, I’ve got a lot of white space in every photo. And for me, that’s the base for how I keep my Instagram feed looking cohesive.

2. Choose like-colors for every shot.
Now this isn’t something I personally do but it’s something I LOVE the look of when Instagrammers use this tactic. Let’s look at @taralynne.oha’s instagram feed, for example. Notice anything? I’m sure you see it. Yes, all of her photos are beautiful and edited with that same dark tone, but look at the colors, specifically. The clothes she and her kids wear, the sheets, the backgrounds, the pillows and furniture and even the leaves in the trees— they’re all burnt oranges, whites and tans. Even her Boxer blends in perfectly with the colors she uses on her Instagram feed and if you ask me, she’s got the most beautiful feed out there!

3. Don’t put two similar photos next to each other (or on top of each other).
You’re probably like… huh? What the heck does this mean? And while I do try my best to do this, it' doesn’t always work out but I sure do try.
For example, I try not to put two close-up shots next to each other or on top of each other when appearing on the grid. And the same goes with super pulled-back shots. I try not to put two photos next to each other with the same angle (us standing side-by-side, from above, diagonally shot, selfie style, etc., for example) or two shots taken from a birds-eye view next to each other. What I do is I try to space is all out — maybe a close up shot, then Ava and I standing side-by-side next, and then a bird’s-eye-view angle and then a half body cropped shot next to keep them all spaced out nicely.
Like I said, though, this doesn’t always happen and that’s okay. I’ve been trying to stress less about caring about this so much but in all honesty, I do care because this is my career and many brands have told me that my feed IS why they have hired me time and time again so because of that, I keep it going to the best of my ability.
Quick Tip: I use the UNUM app to visualize my feed before posting anything live so I know how it’ll look a week or so out before everything setting anything in stone on my calendar.

4. Photo-Taking Tips
I use a Nikon D3300 and typically use a 20mm lens (although I love that 50mm lens). It’s nothing fancy but it does the job well. And ever since I learned the basics of shooting manual, I swear it’s made a world of a difference for shooting in all types of light. For all (or most) paid campaigns, I use my camera because these companies are hiring me to take photos for them and oftentimes, they’re paying to use these photos professionally on their end in newsletters, ads, on their websites, etc. So for that reason, paid campaigns are always shot on my camera (unless they specify otherwise, which does happen occasionally).
But I’d say about 50% or more of my photos are taken on my iPhone. So you don’t have to own a camera to take pretty pictures…well, if you think my pictures are pretty, that is.
But other than the equipment I use, here are some tips for taking Instagram photos:
natural light: I turn all lights off in the house before shooting so they don’t end up with that fake yellow-light tone to them.
no direct sunlight: Unless you’re a professional photographer, you probably won’t be able to master direct sun and shadows and all of the fun that comes along with that. Not to say that I don’t try or don’t end up with cute shots in the direct sun, but it’s hard. So I always attempt to shoot in the shade (and just warm up the shot), in the morning or at night when the sun isn’t blaring over our heads.
take a million shots: A million is quite the exaggeration but we take a lot. Snap, snap, snap away and you’re sure to end up with a cute one whether it’s posed or candid! Just click that shutter over and over so you don’t miss a good moment!
vary your angles: Shoot from above, shoot selfie-style, pulled back, different angles and just get variety in there because you never know which angle you’ll end up loving the most for a shot!
And who takes my photos? My husband! I set the camera settings based on the lighting and he stands in as my lighting model and once everything is set on the camera, he takes the shots and I edit. If I’m not in the photo, then chances are I took the shot.

5. Photo Editing Apps
I have some basic settings I start off with on every photo — slightly warm, a little pink, light on the shadows and then I trial and error. I edit a photo, throw it onto my feed using the UNUM app and see what I think. Then I go back and make it warmer or colder, adjust the brightness, etc until I have the shot I feel looks best on my Instagram feed. I’m sure the professionals have a better way of doing this but for me, it’s all trial and error editing on the Lightroom app., which is my favorite photo editing app (and the only editing app I use!).
I hope this helps for those of you wanting to make your Instagram feed look more cohesive and uniform but my best advice to you is to not dwell on it too much. Of course if this is your career or you want to turn Instagramming or blogging into your career then yes, focus on good quality work because that’s what brands love! But don’t dwell on that feed too much or I promise it’ll make you go crazy!
![Cubo Ai Baby Video Monitor Review [Cubo Ai Plus Review Update!]](https://images.squarespace-cdn.com/content/v1/559c4026e4b0b05c516049a2/1582928252949-9M46XINOKH1NQZ287J3I/Baby+Monitor.jpg)
