

How To Download Our Presets Directly to Lightroom Mobile
If you’re here because you just bought our Lightroom Mobile Presets then THANK YOU! We cannot wait to hear how much you love them (because you will love them!) and see your photo edits in action!
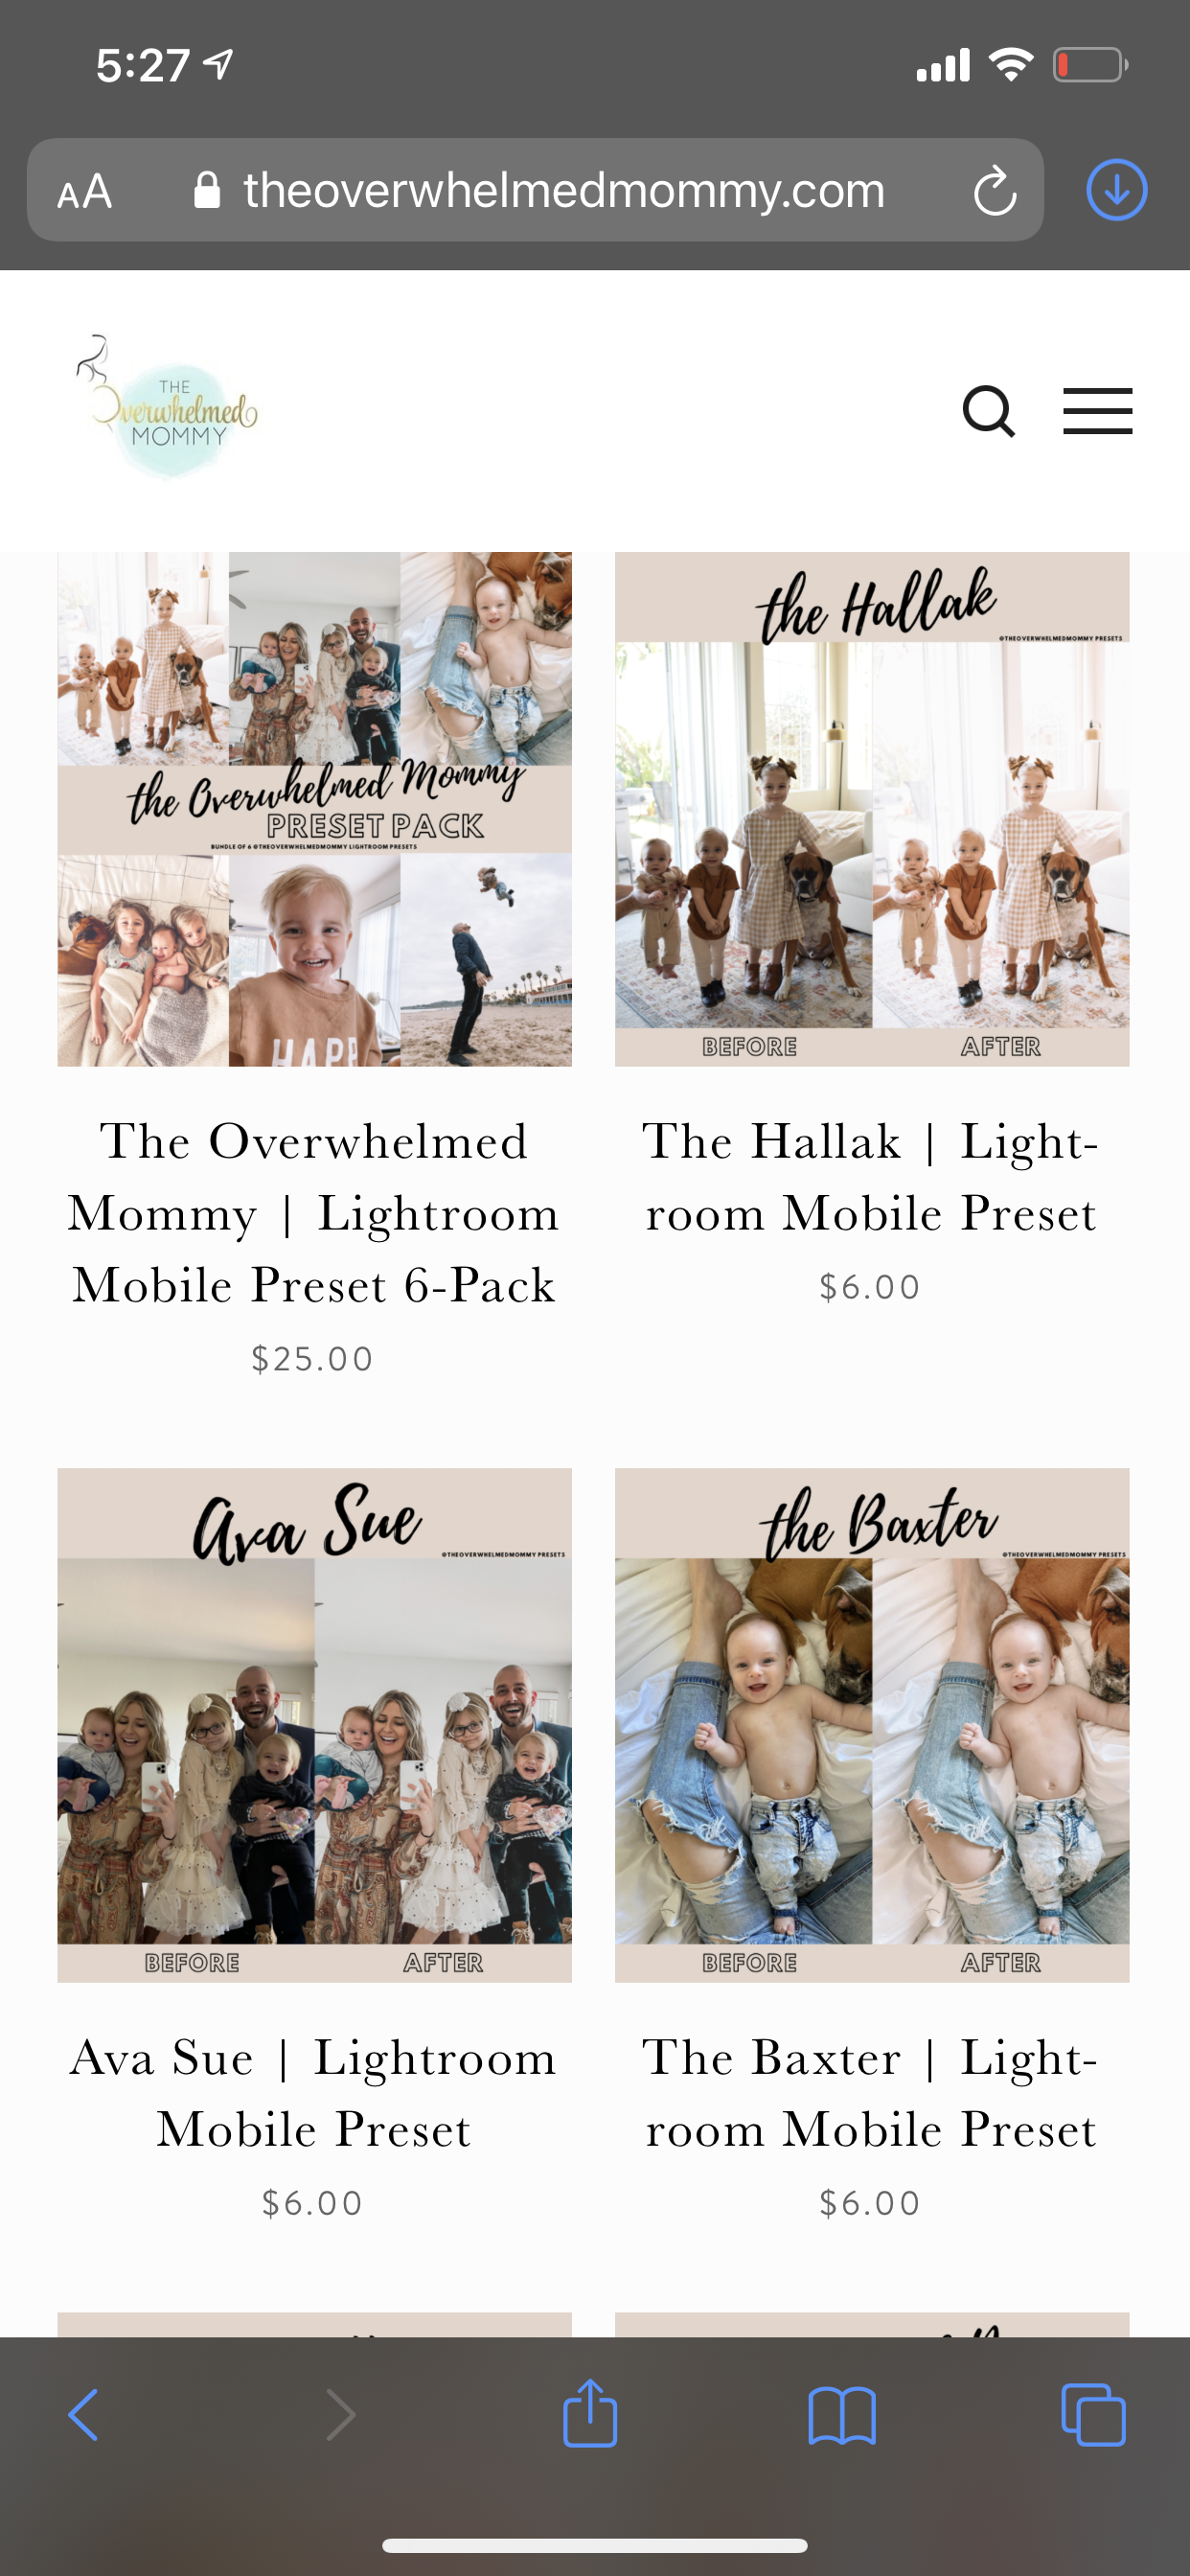
Here are the presets we’ve got:
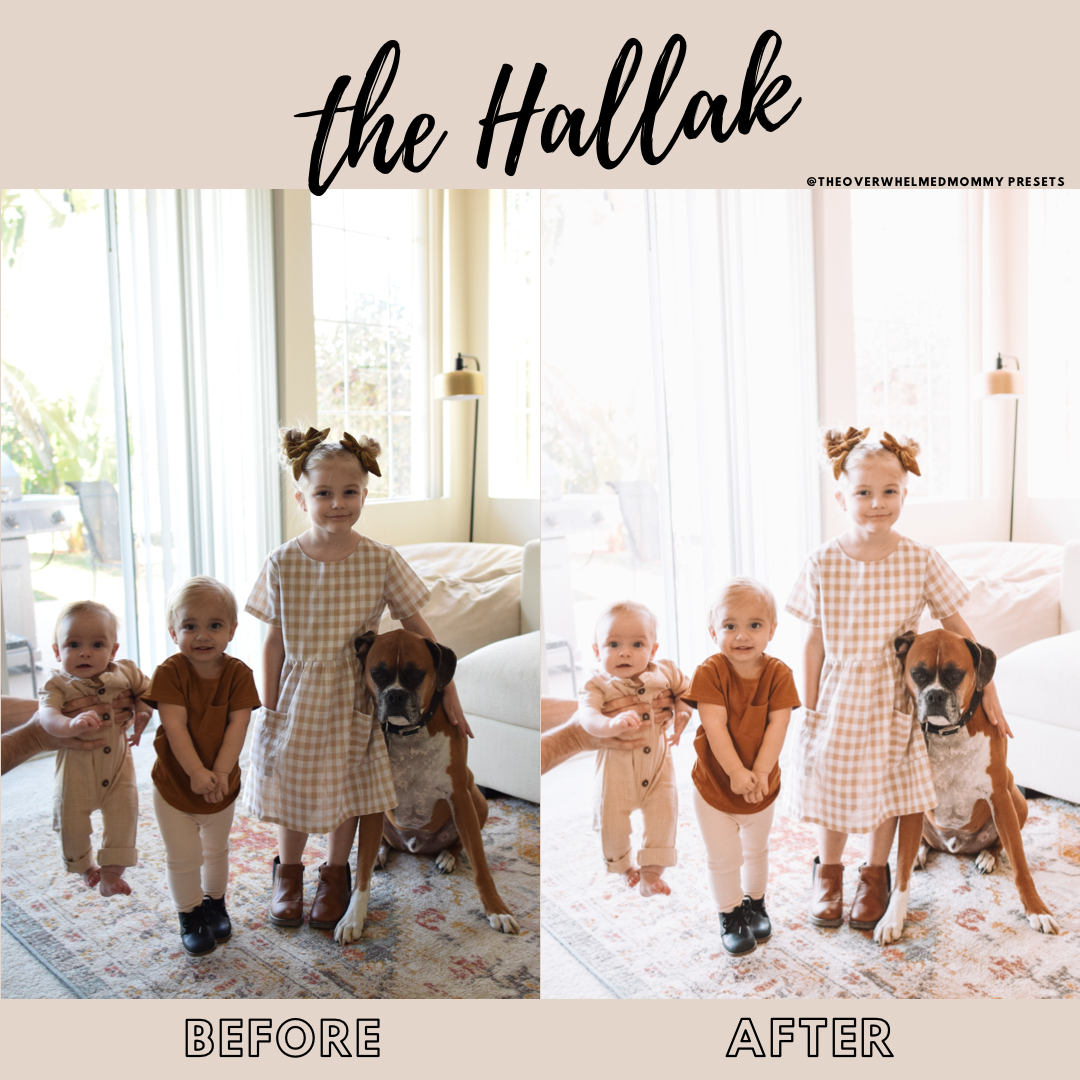
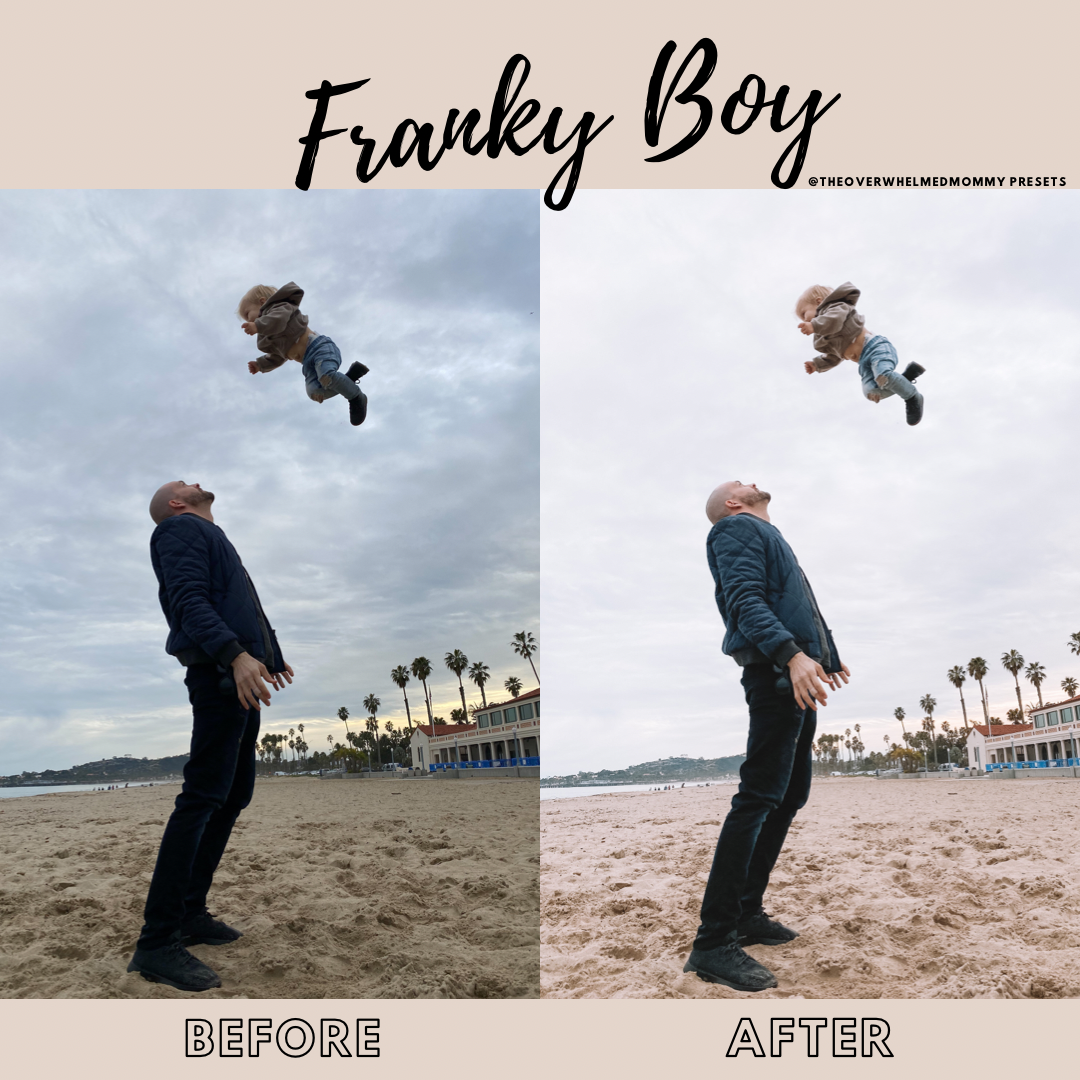
the Hallak Preset (our most popular by far!)
the PRESET BUNDLE (you get all of them!)
And if you’re here for some other reason, then click here to take a peek at the best one-click Lightroom Mobile presets… if you ask me, at least ;)
But since I assume most of you just want some step-by-step instructions on how to download Lightroom presets directly to your phone so you can get to editing those adorable photos ASAP, let’s get to it!
Downloading the Preset File to Your Phone
If you have a second device you can read these directions on, I’d recommend doing so.
It’s just easier than going back and forth on your phone. But if not, no biggie!
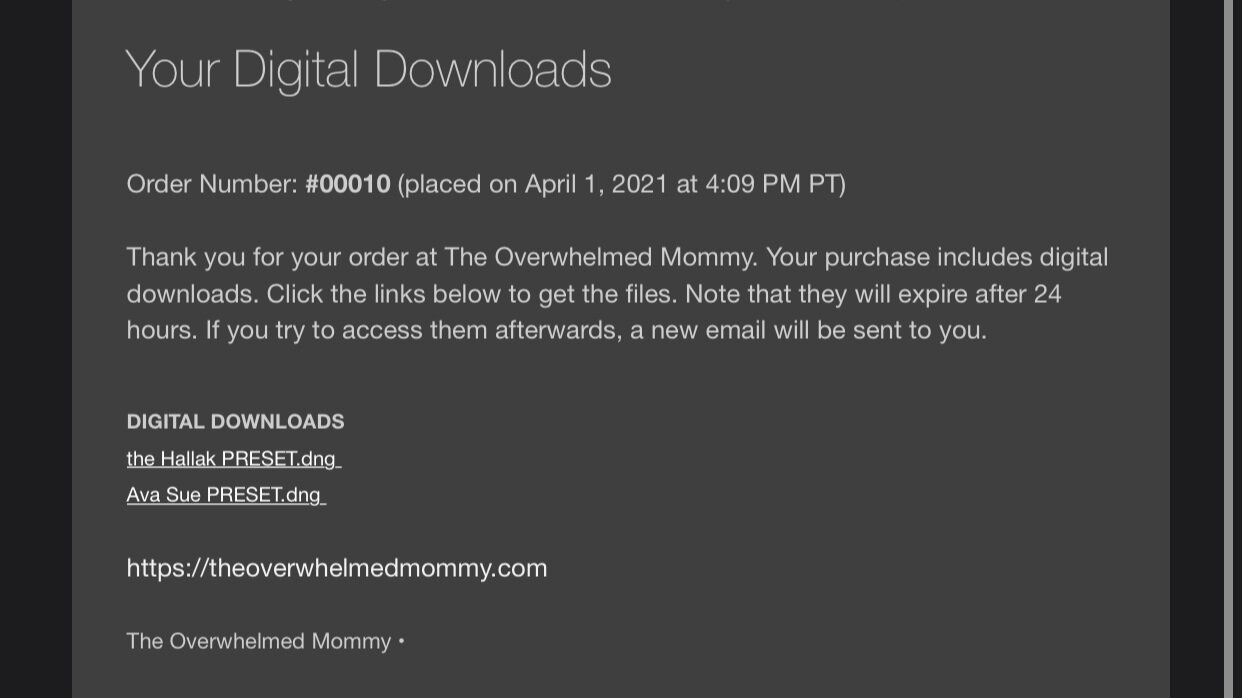
You’ll receive a confirmation email from our site once your order is placed and a second email will arrive almost immediately following with your downloads.
Please Note: You MUST download within 24 hours or purchasing or the download will no longer be available.
In the email with your download links, click on the item you’d like to download first. If you purchased multiple presets, you’ll choose one to start with first. You’ll complete these steps for each preset you’ve purchased but let’s just start with the first one for now.

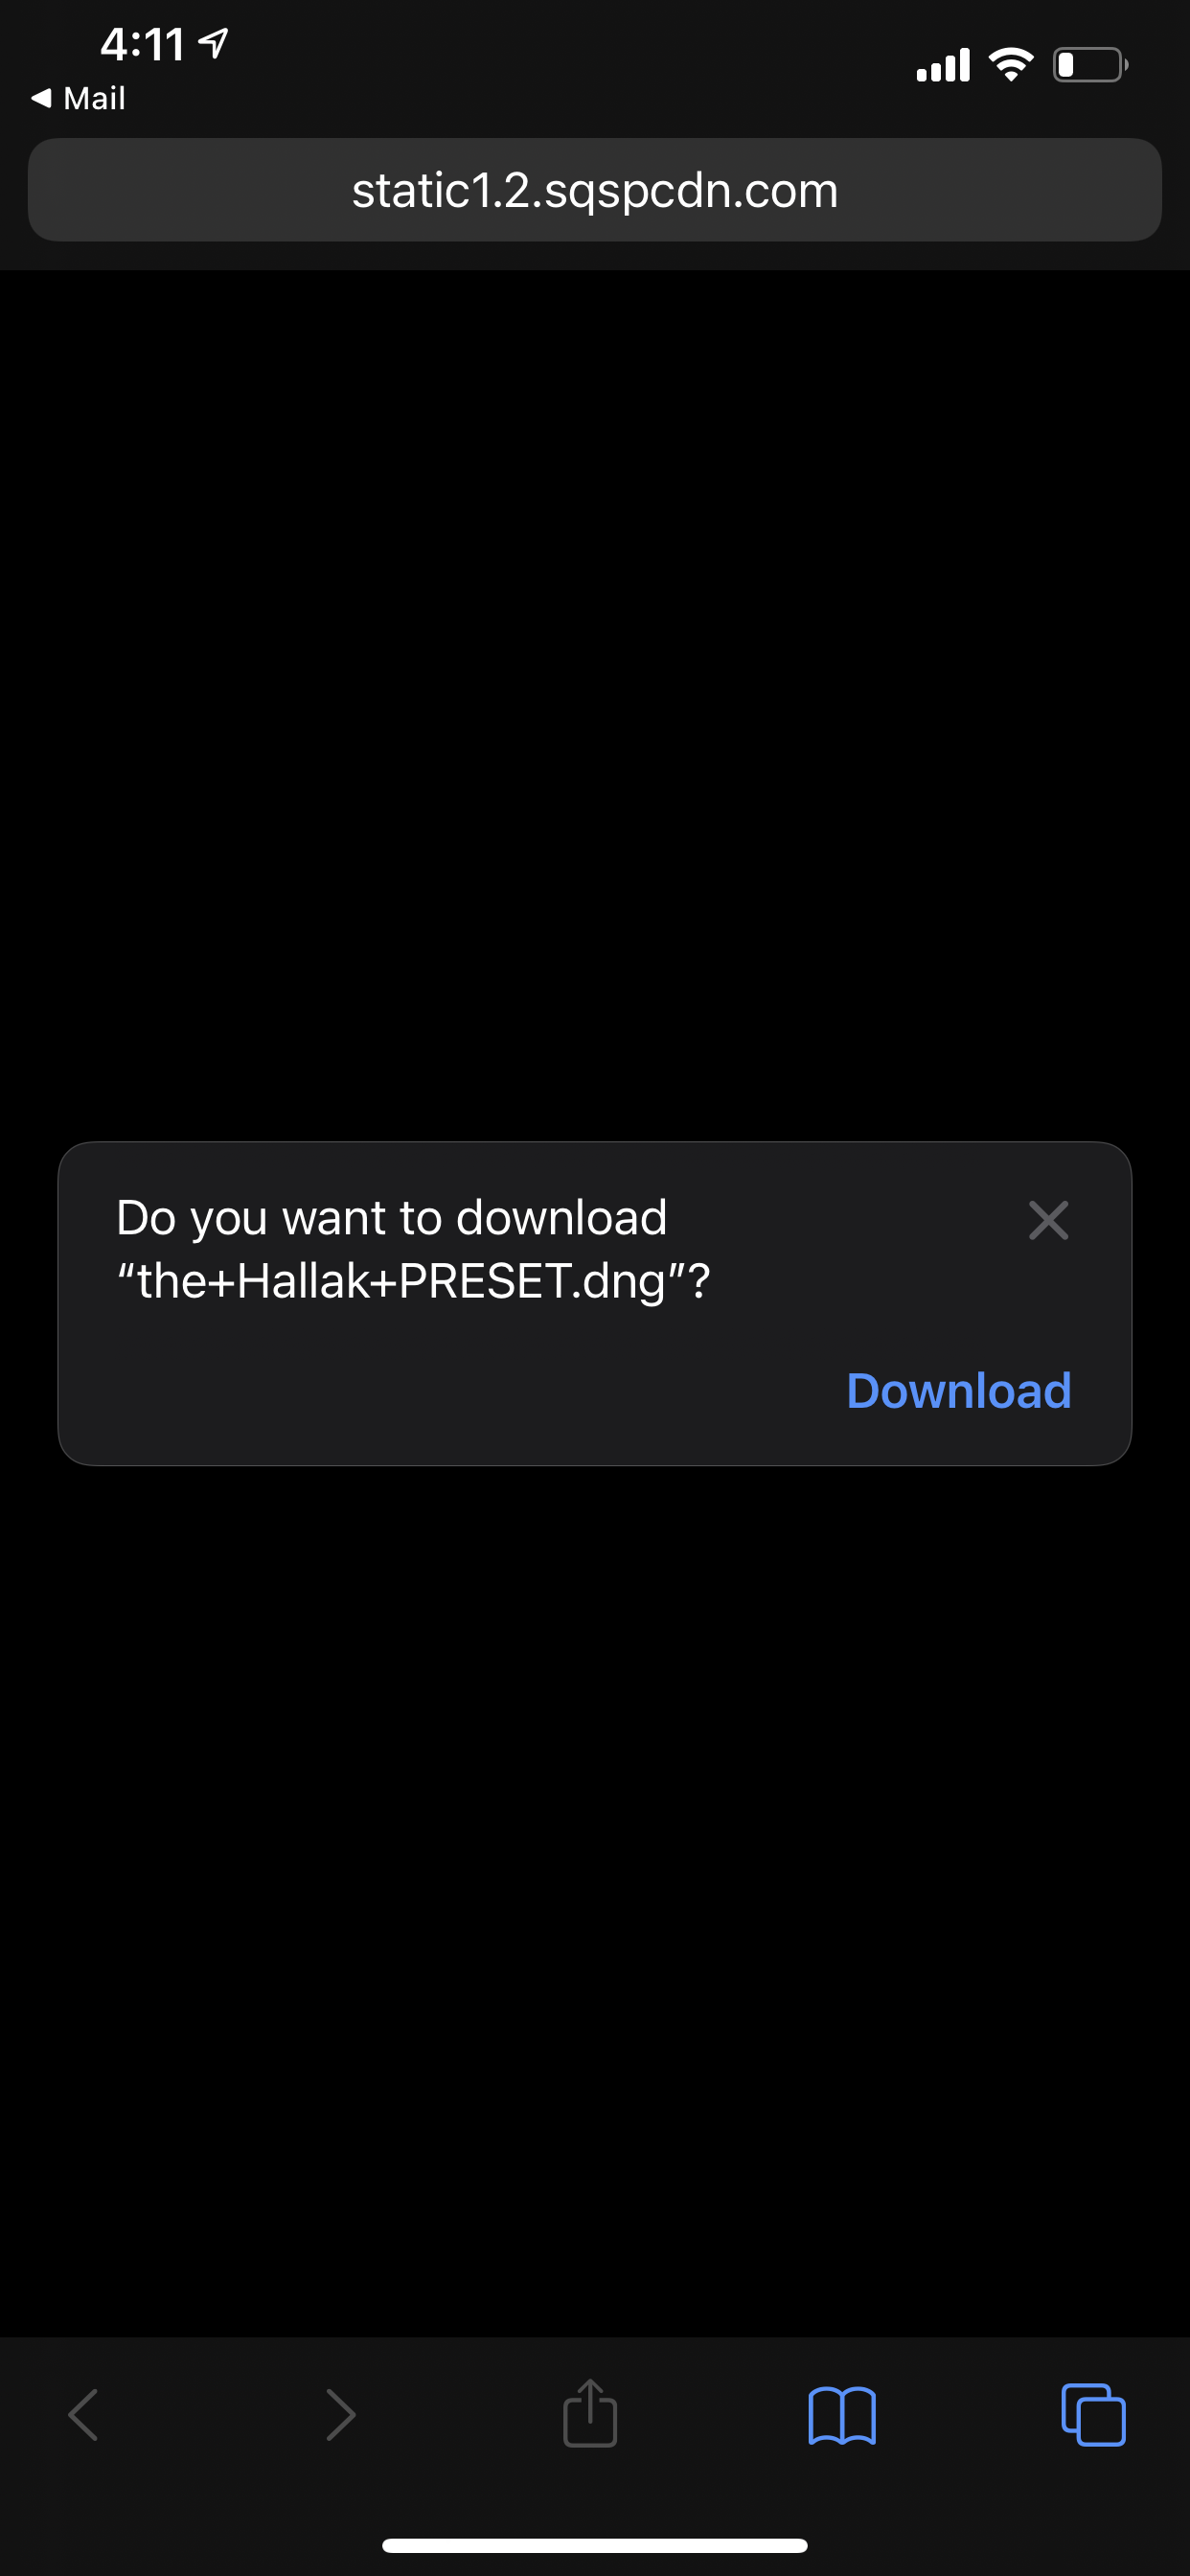
Your phone will ask, “Do you want to download?” Click “download” and a blue arrow will appear at the top right hand corner of your browser.
Click the blue arrow and click the preset you’re currently wanting to add to your phone.
If you purchased the bundle pack, it will appear with the word “zip".
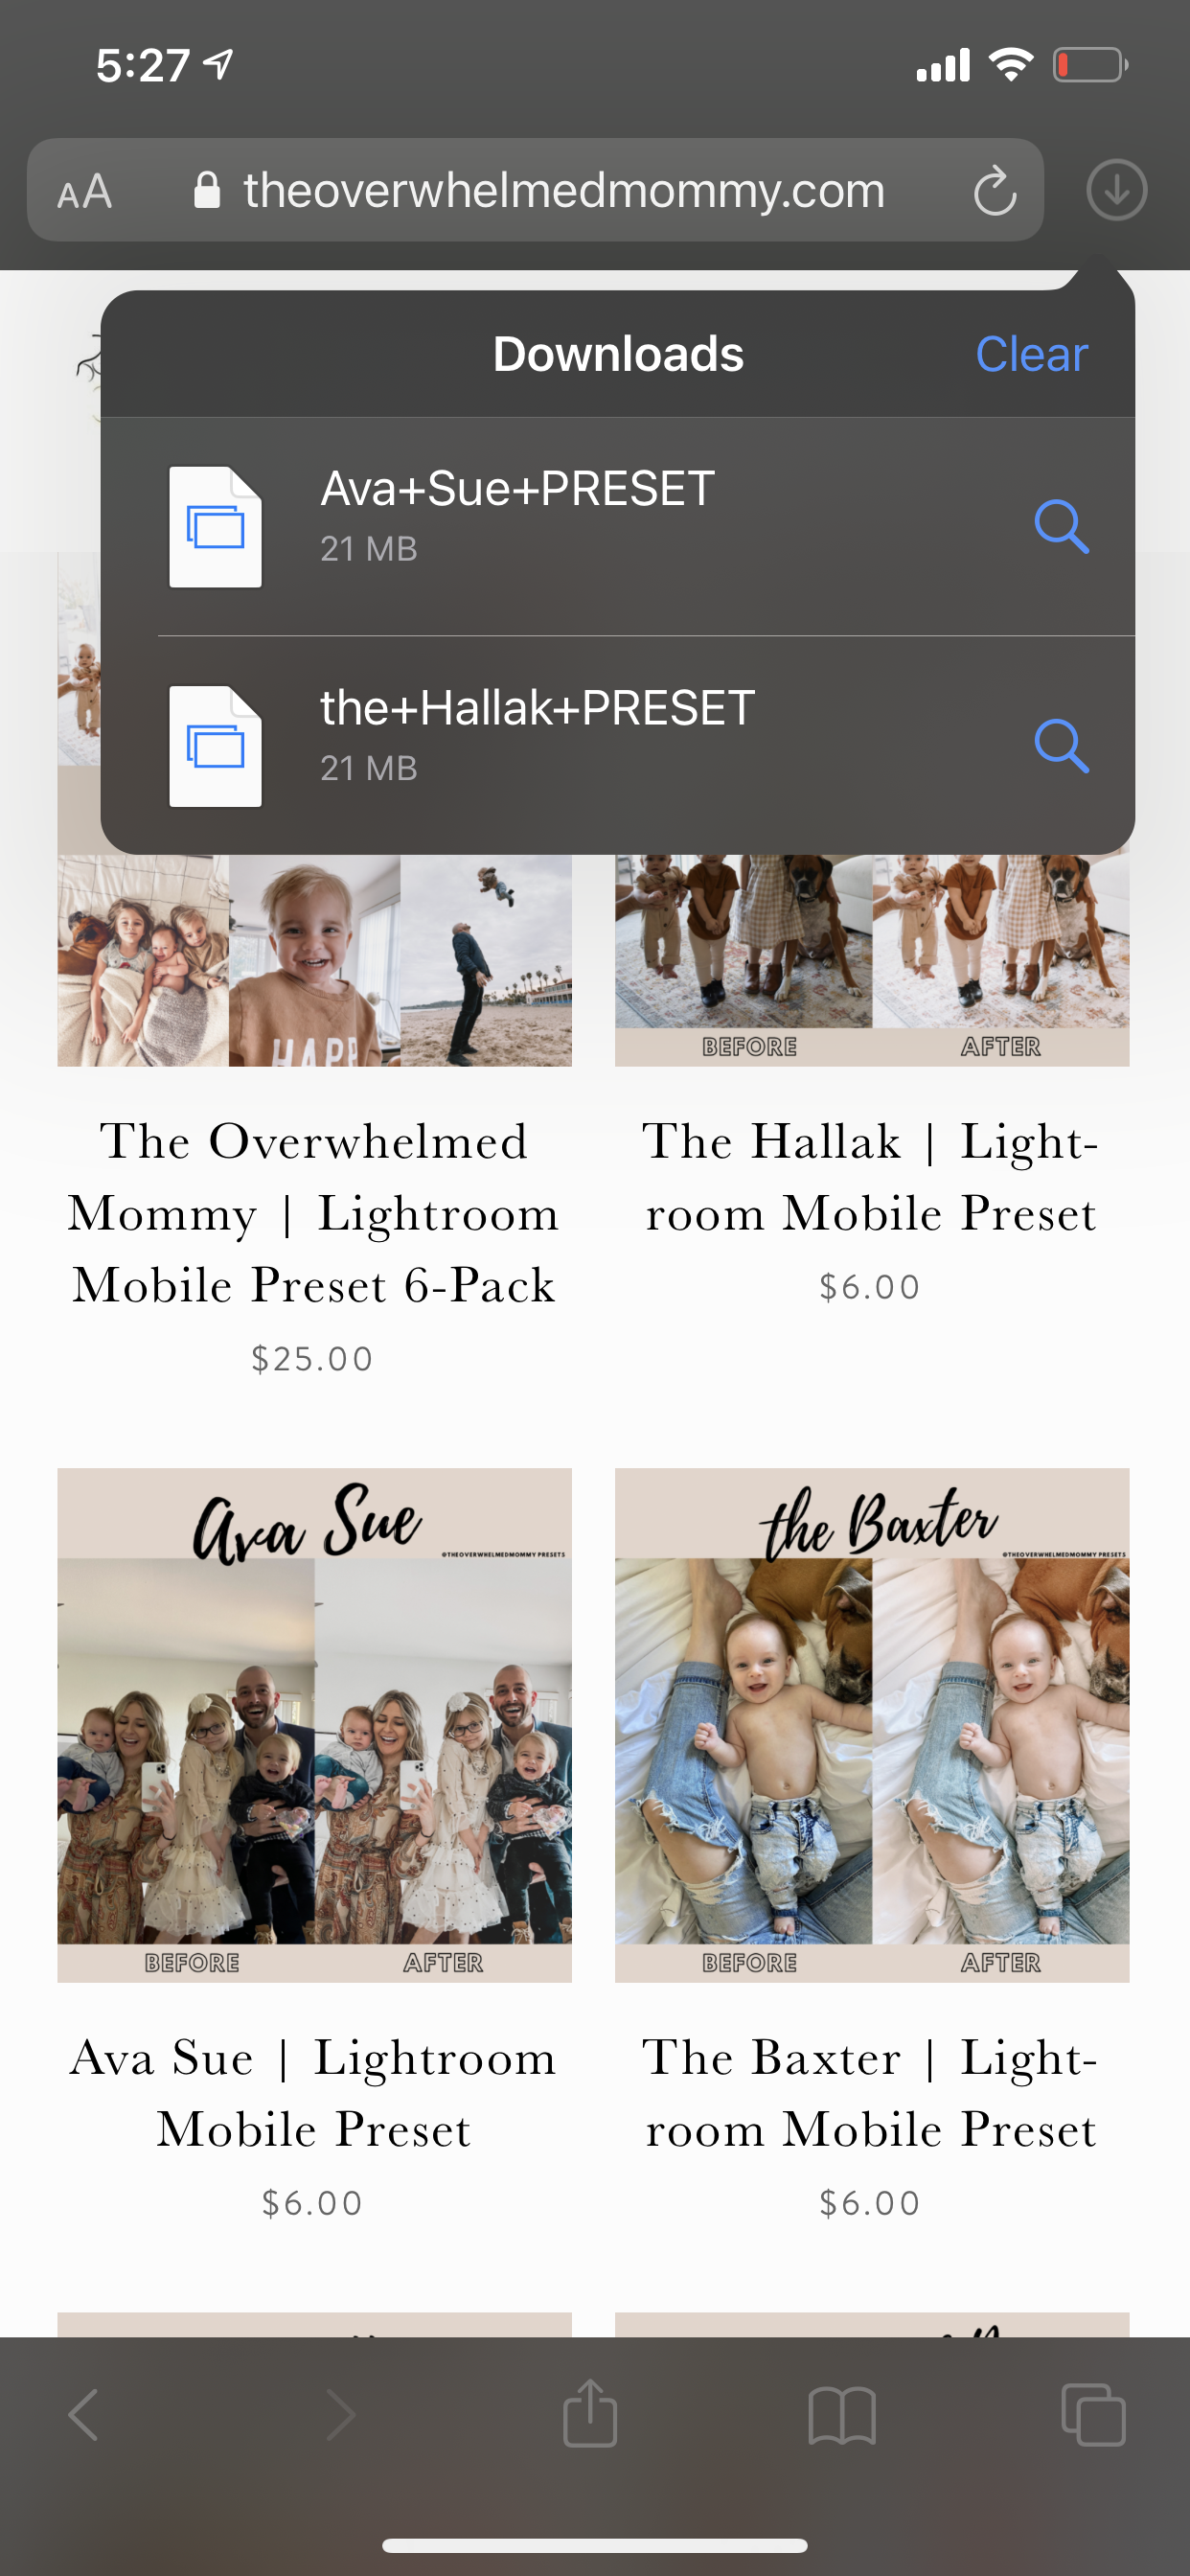
A blue arrow facing upward this time will now appear at the top right hand corner of your screen.
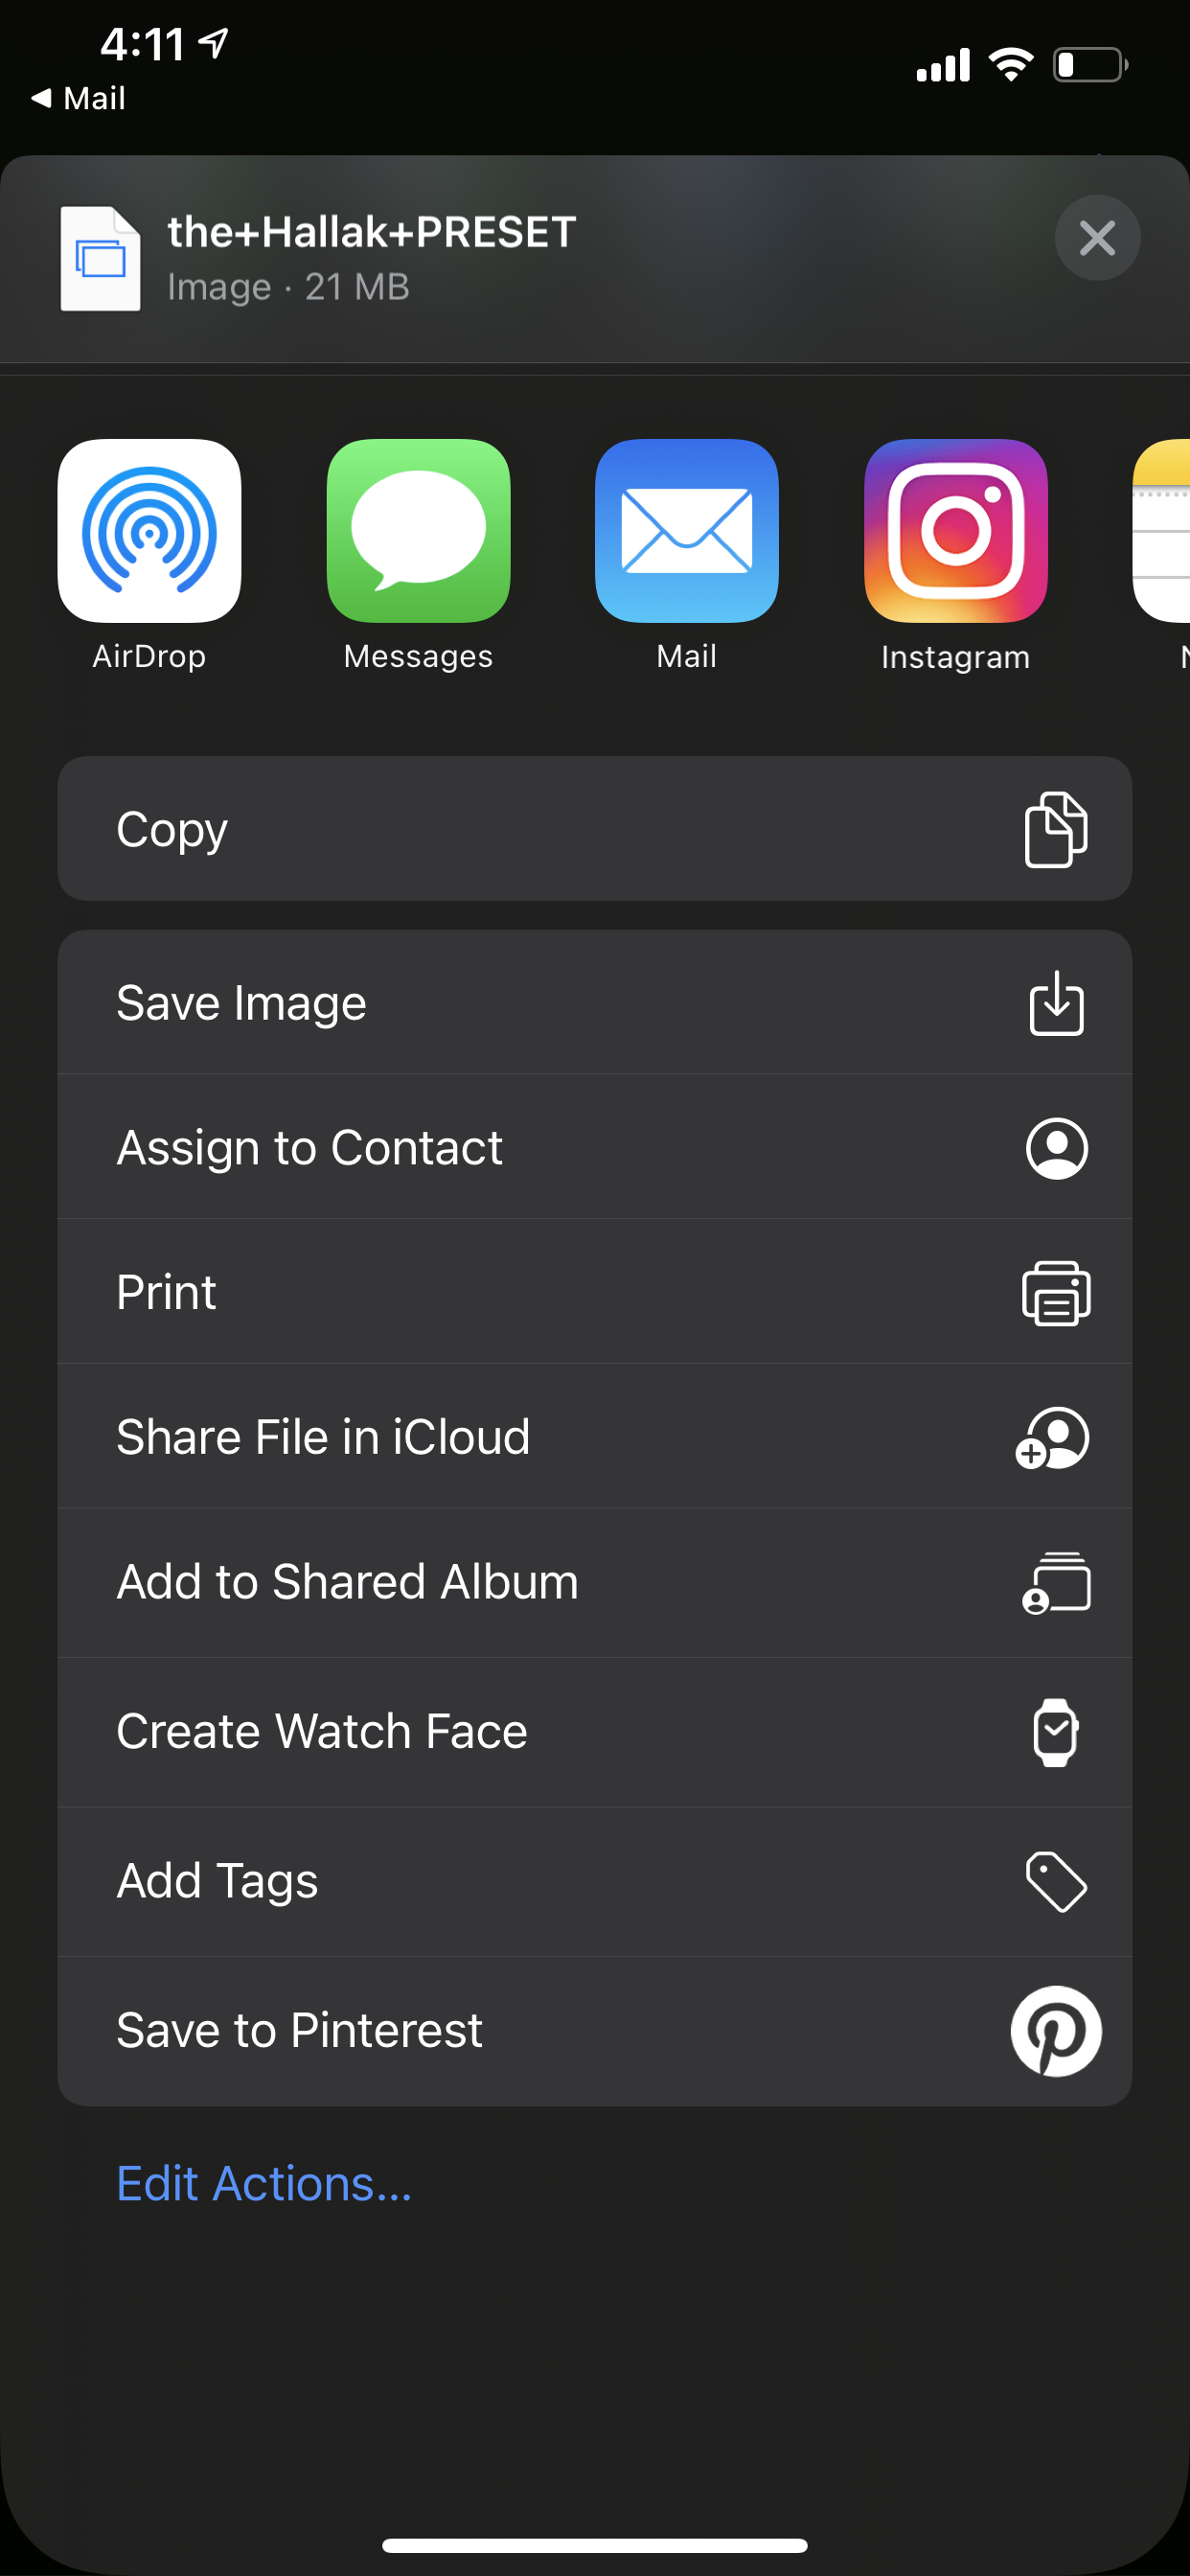
Click that blue arrow, scroll until you see “save image” and click “save image.” You have now saved the preset file to your phone.
If you purchased the bundle, you will need to first click on the “bundle” folder and then complete this step for each preset file.

Downloading Lightroom Mobile
If you have not yet downloaded the Lightroom Mobile App then now would be the time to do so.
If you already have Lightroom Mobile on your phone,
just skip right through this step but make sure your Lightroom app is fully up-to-date!
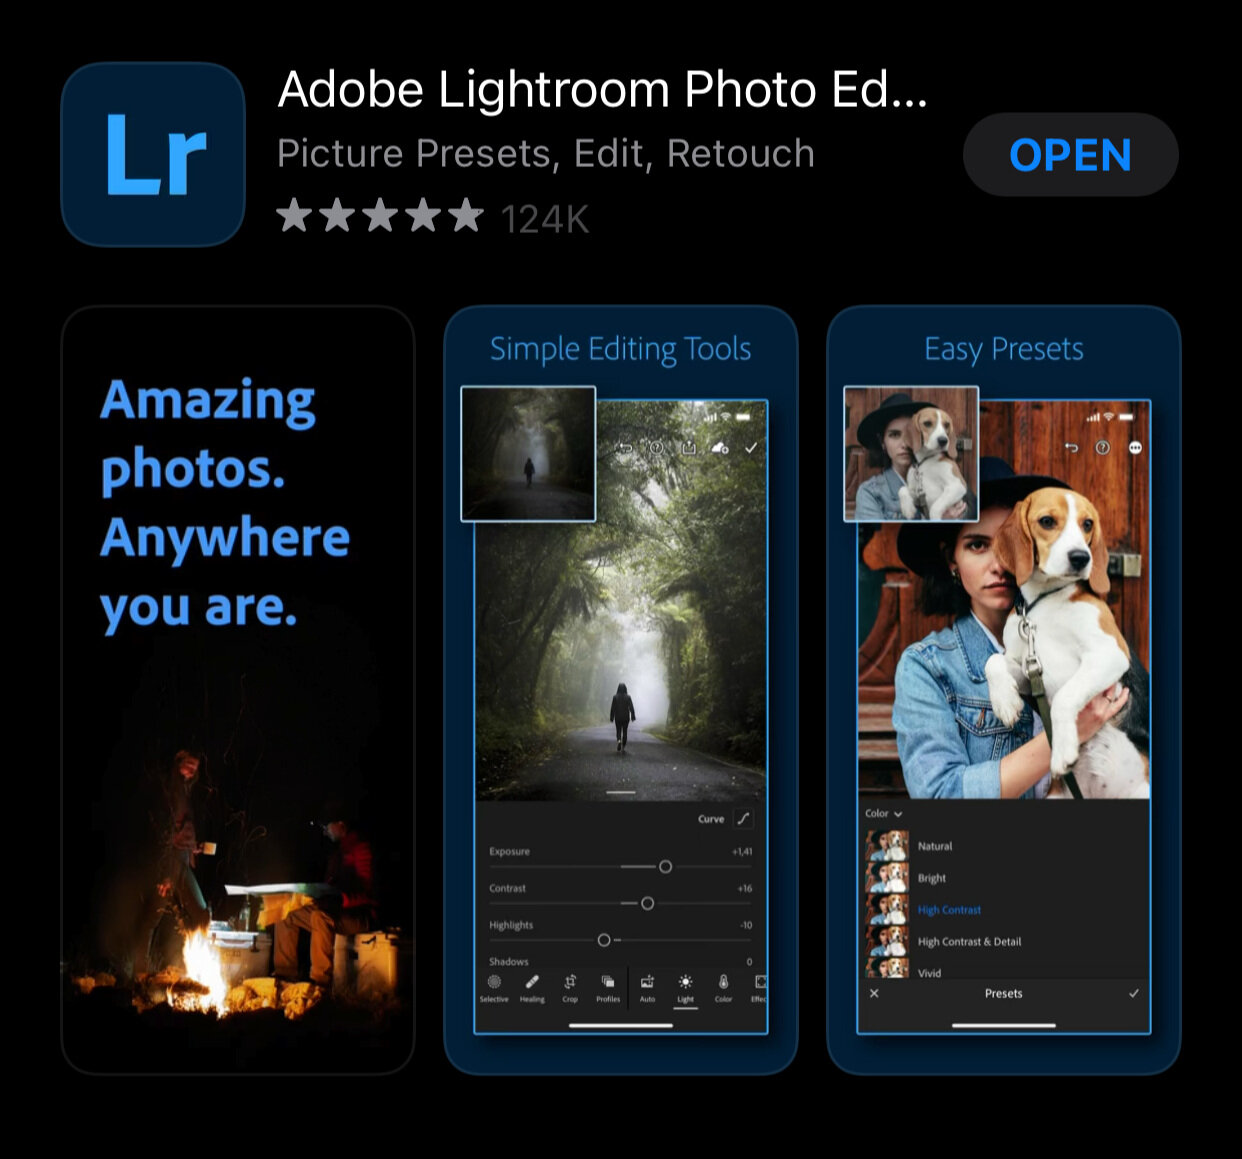
Below is what the correct Lightroom app looks like or you can click here if you have an iphone to download it.
Once your Lightroom app is downloaded, create an account or sign-in with any of the options given.
Adding Your Own Images to Lightroom Mobile
If you already have images in your Lightroom library, you can skip to the next step.
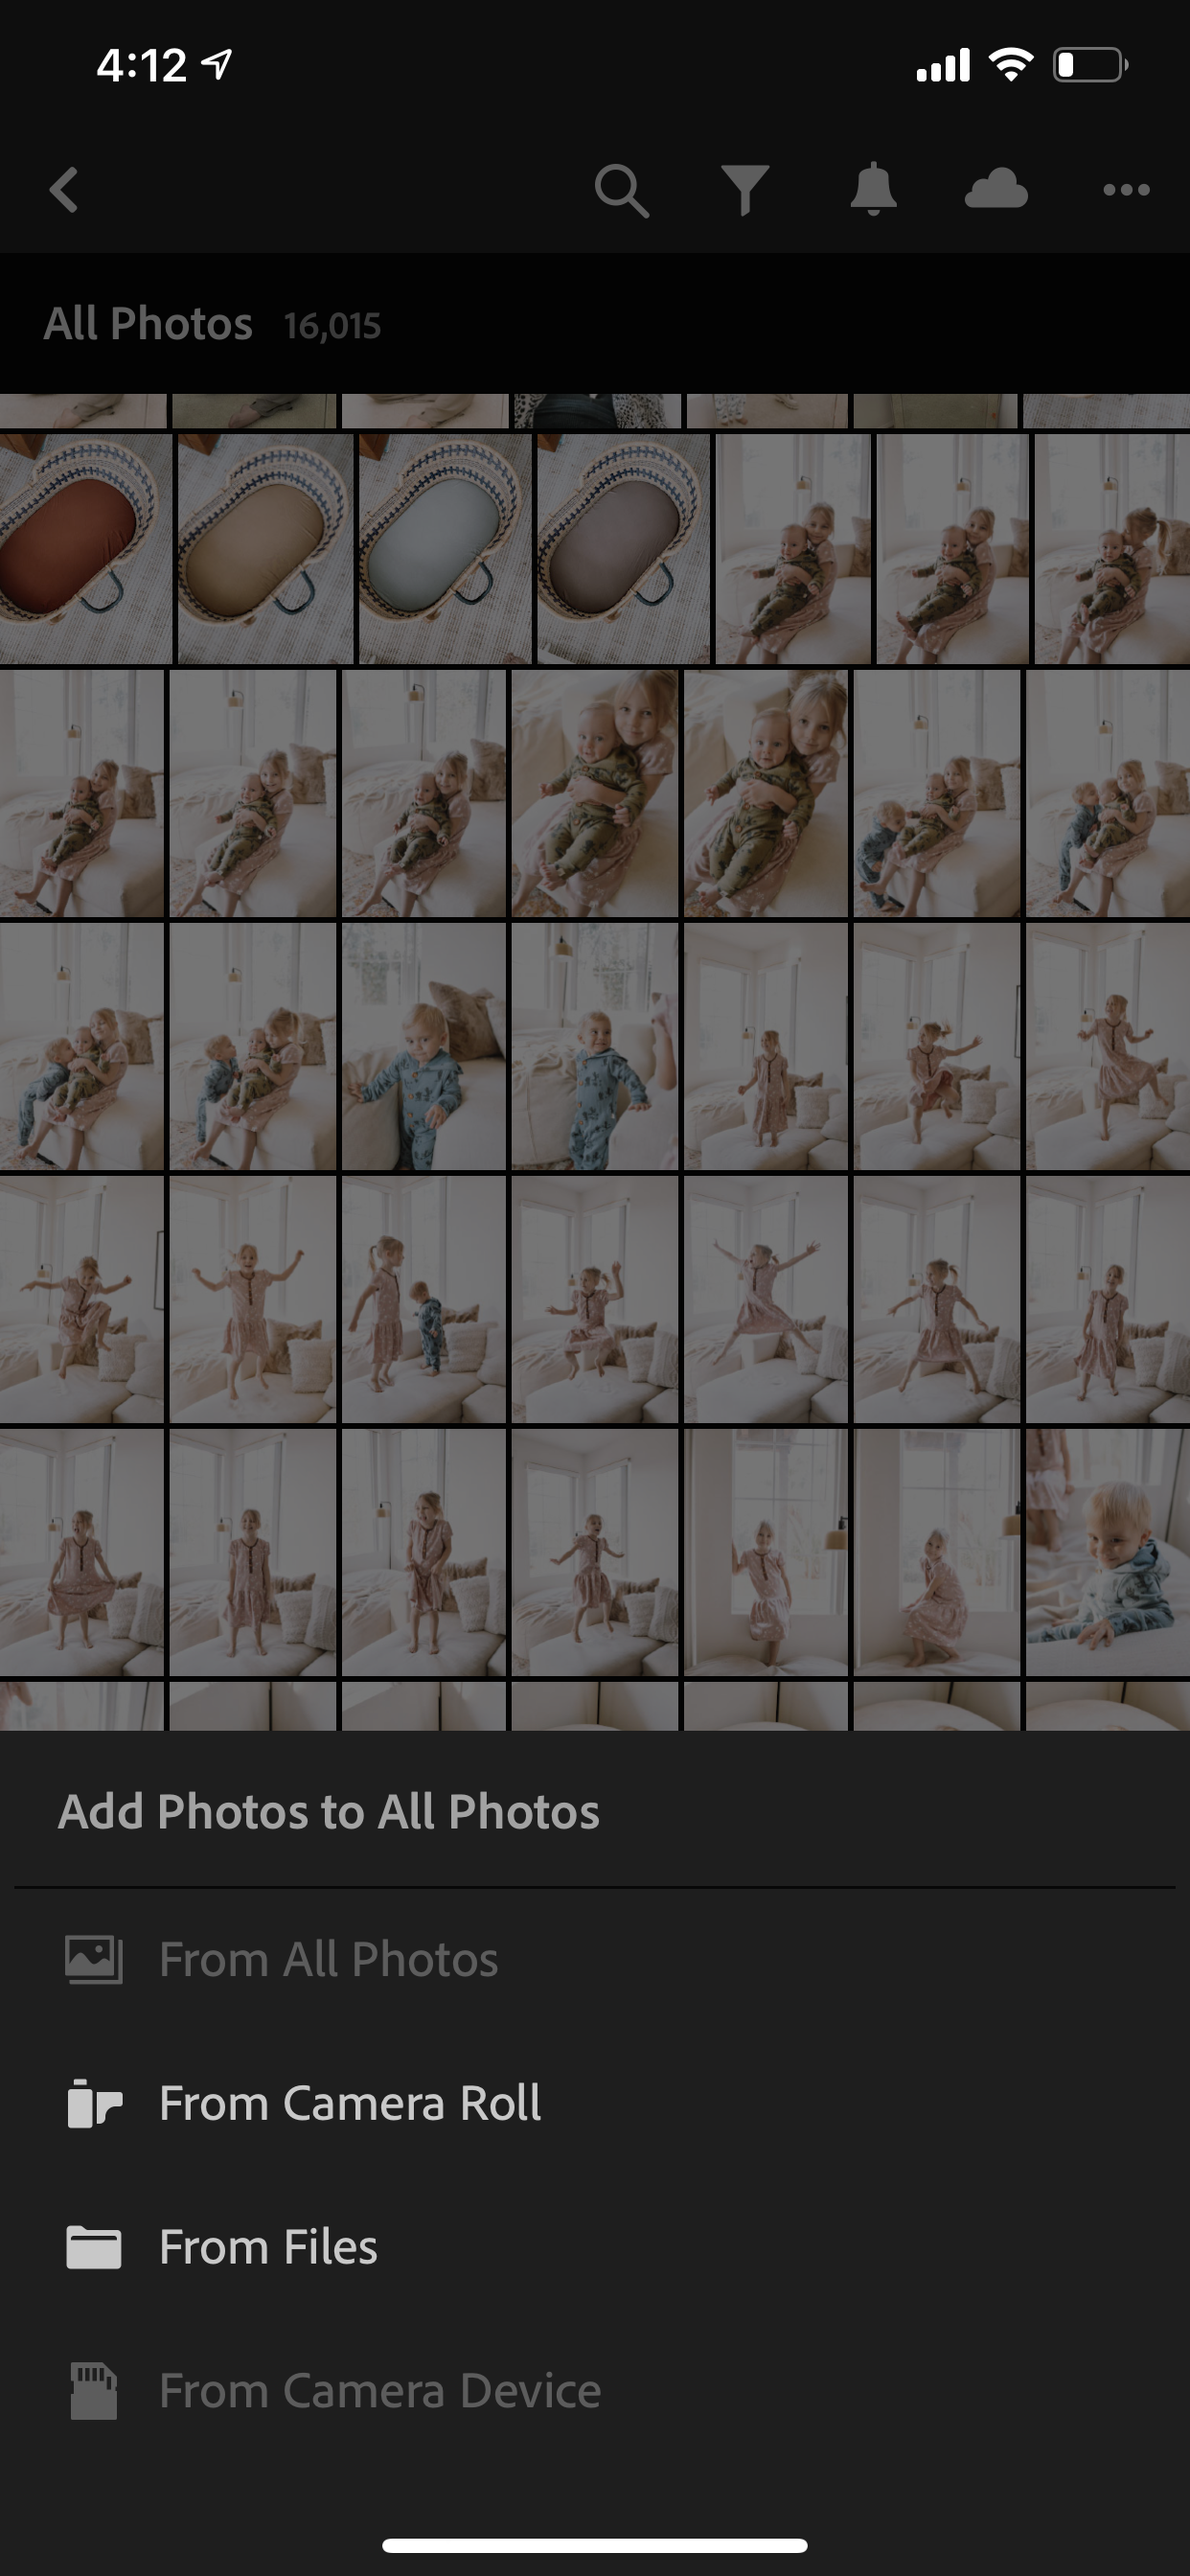
Once you are in the app and all set up, click “library” at the bottom left.
This is what it will look like (see below) but if you’ve just downloaded Lightroom for the first time, you won’t have any photos in there yet.
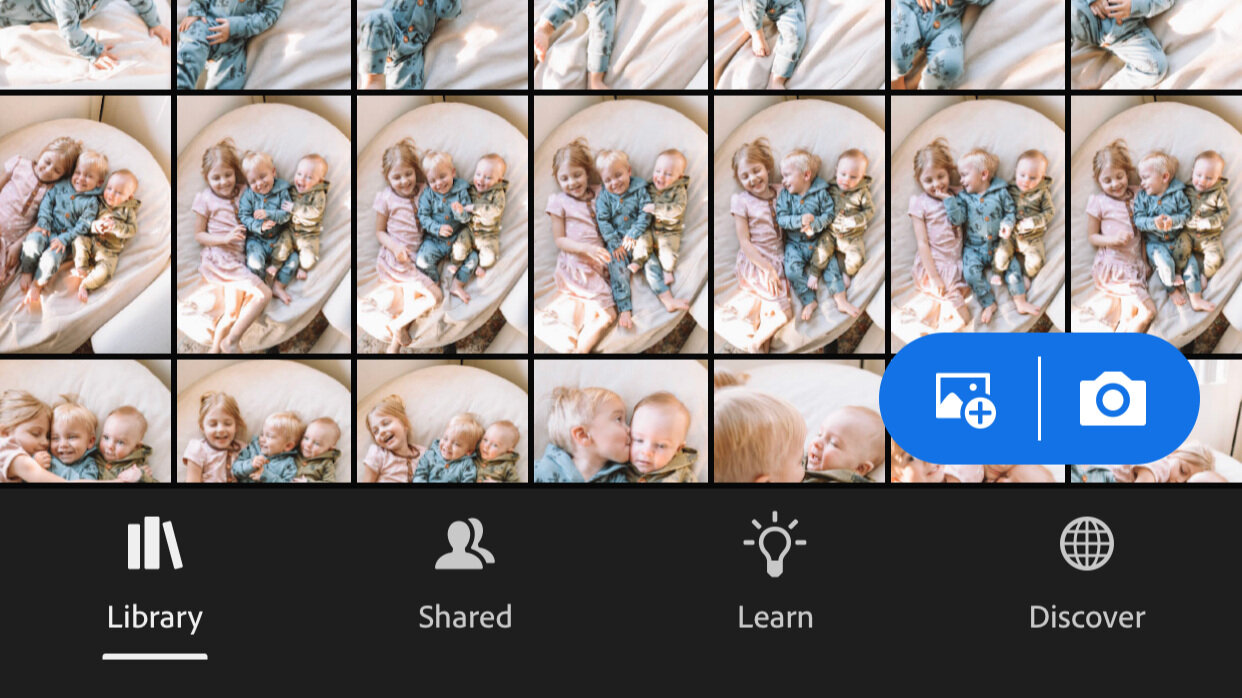
To add an image of your own, click the “+” sign in the bottom right hand corner, then click “from camera roll”
and select the image you want to add to your library. It will automatically import to your Lightroom library.
It can be literally any photo — this is just going to be used for creating the preset and nothing more.
Adding Your Preset File to Lightroom
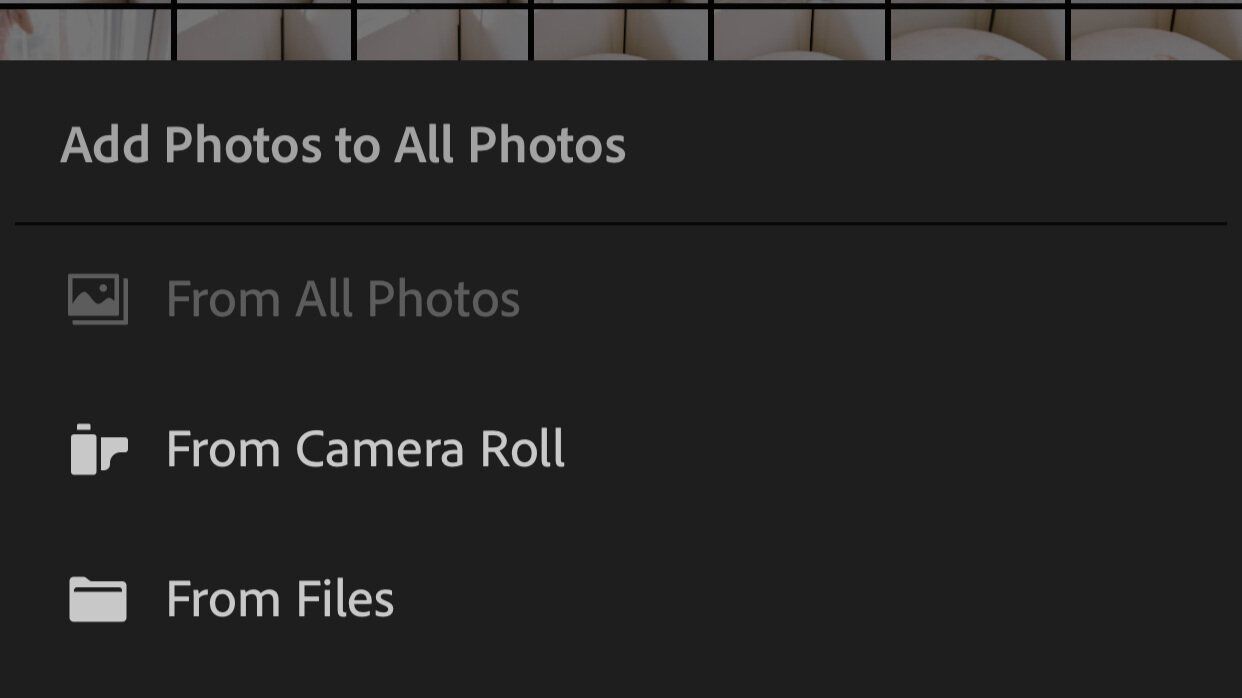
At the bottom right of your screen, there is a button that looks like a photo with a + sign. Click that “+” button and then click “from files.”
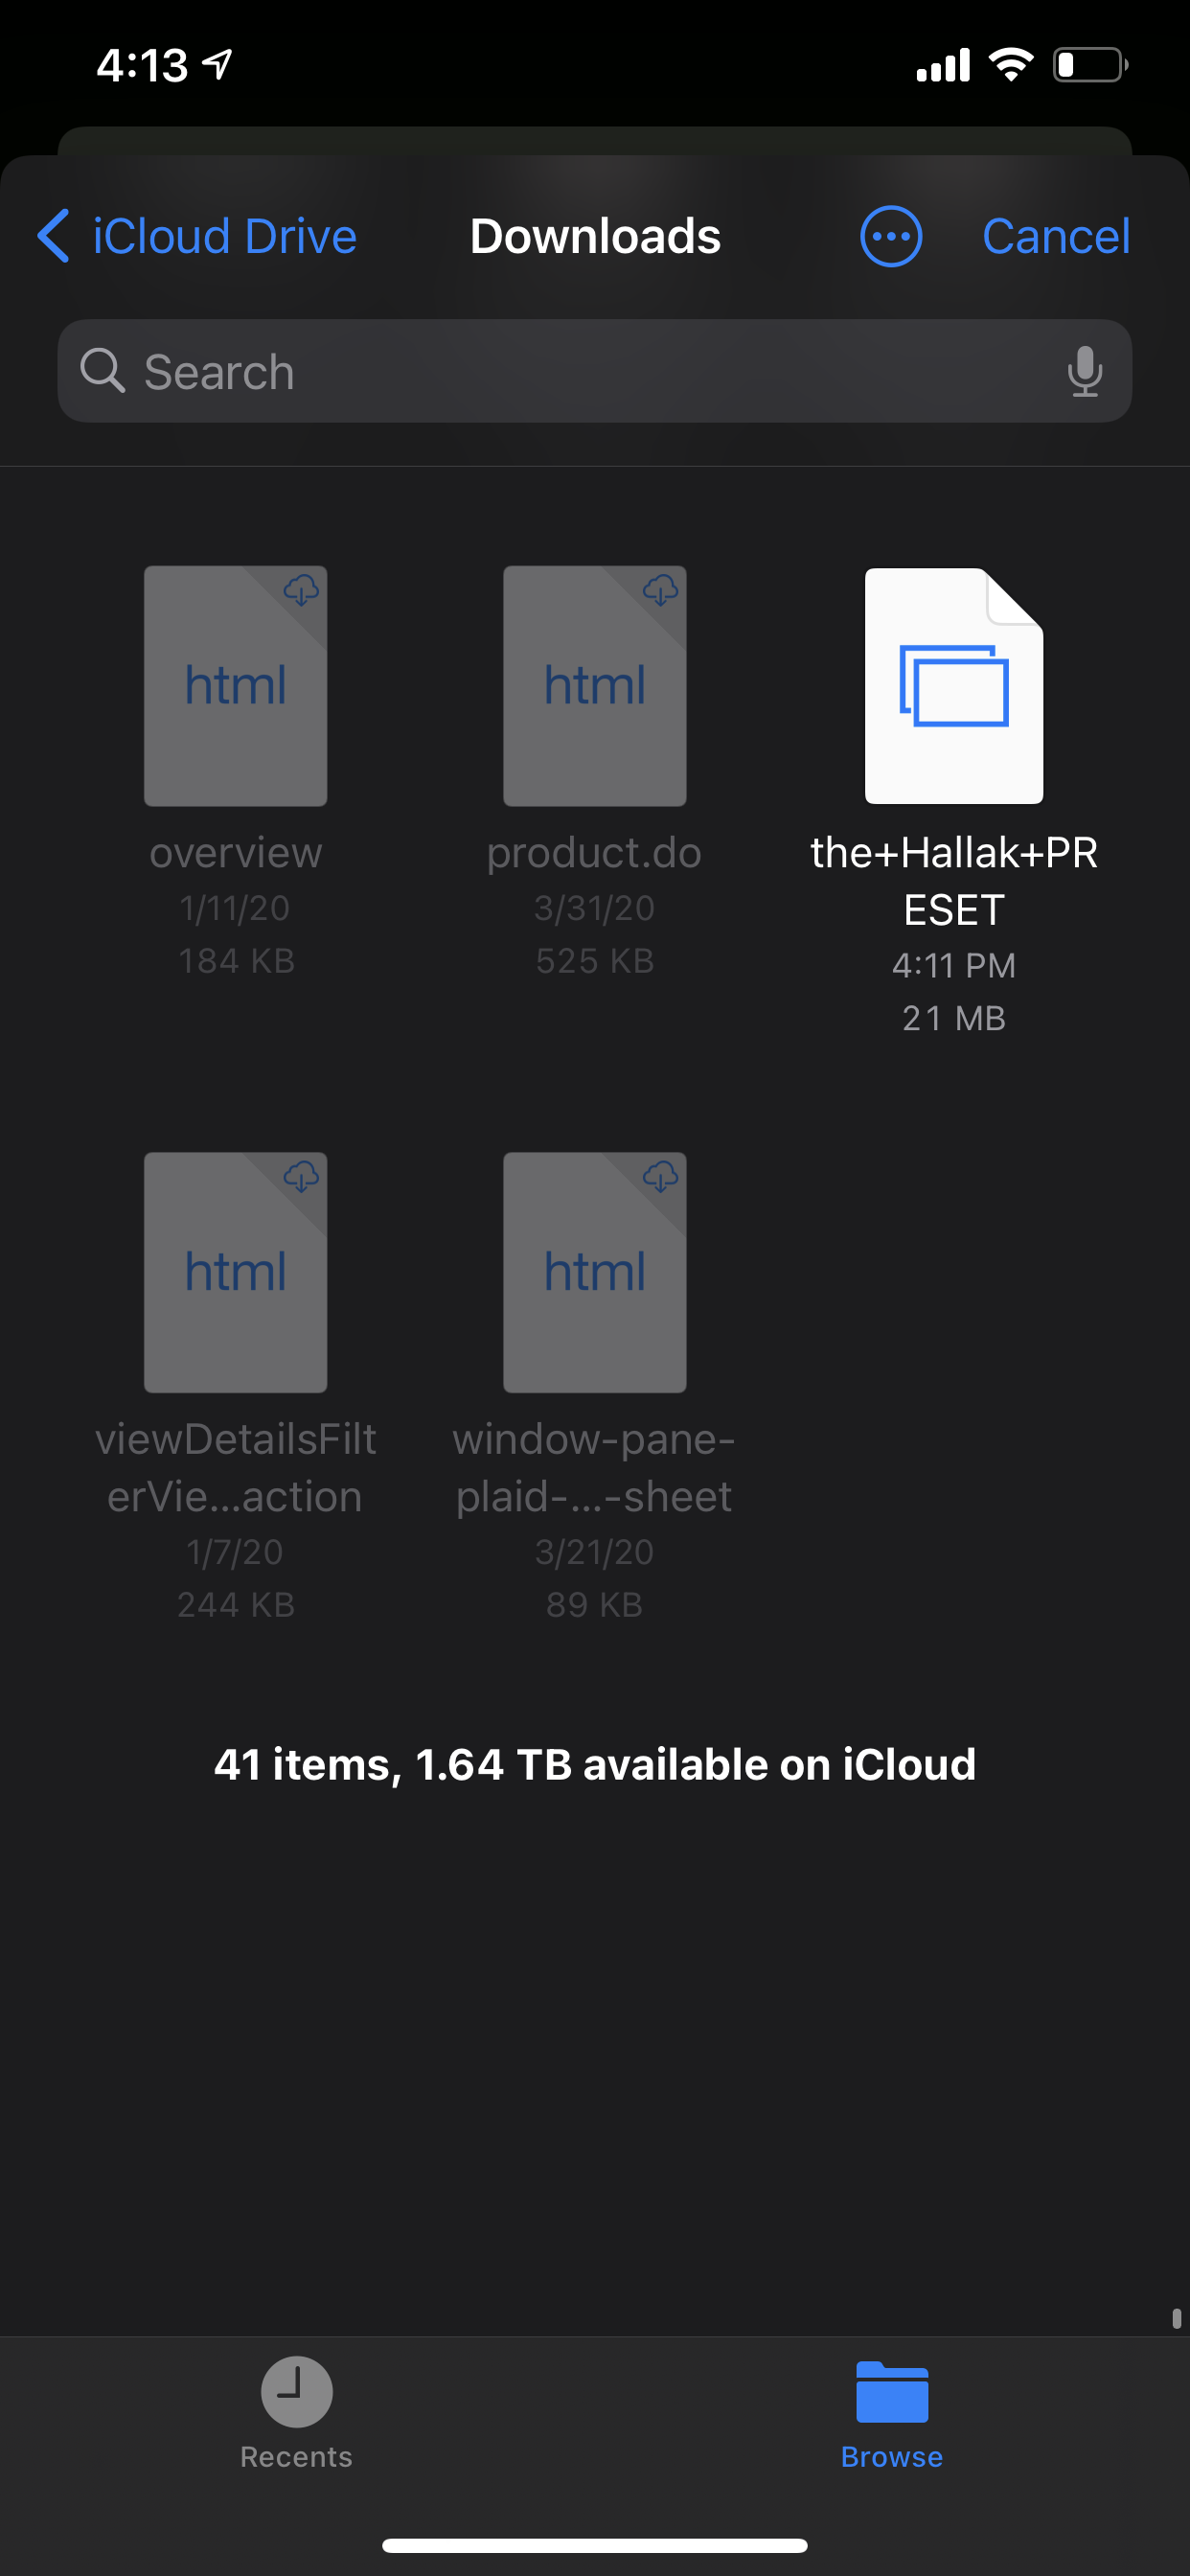
This is where you will find the preset file you’ve already downloaded to your phone.

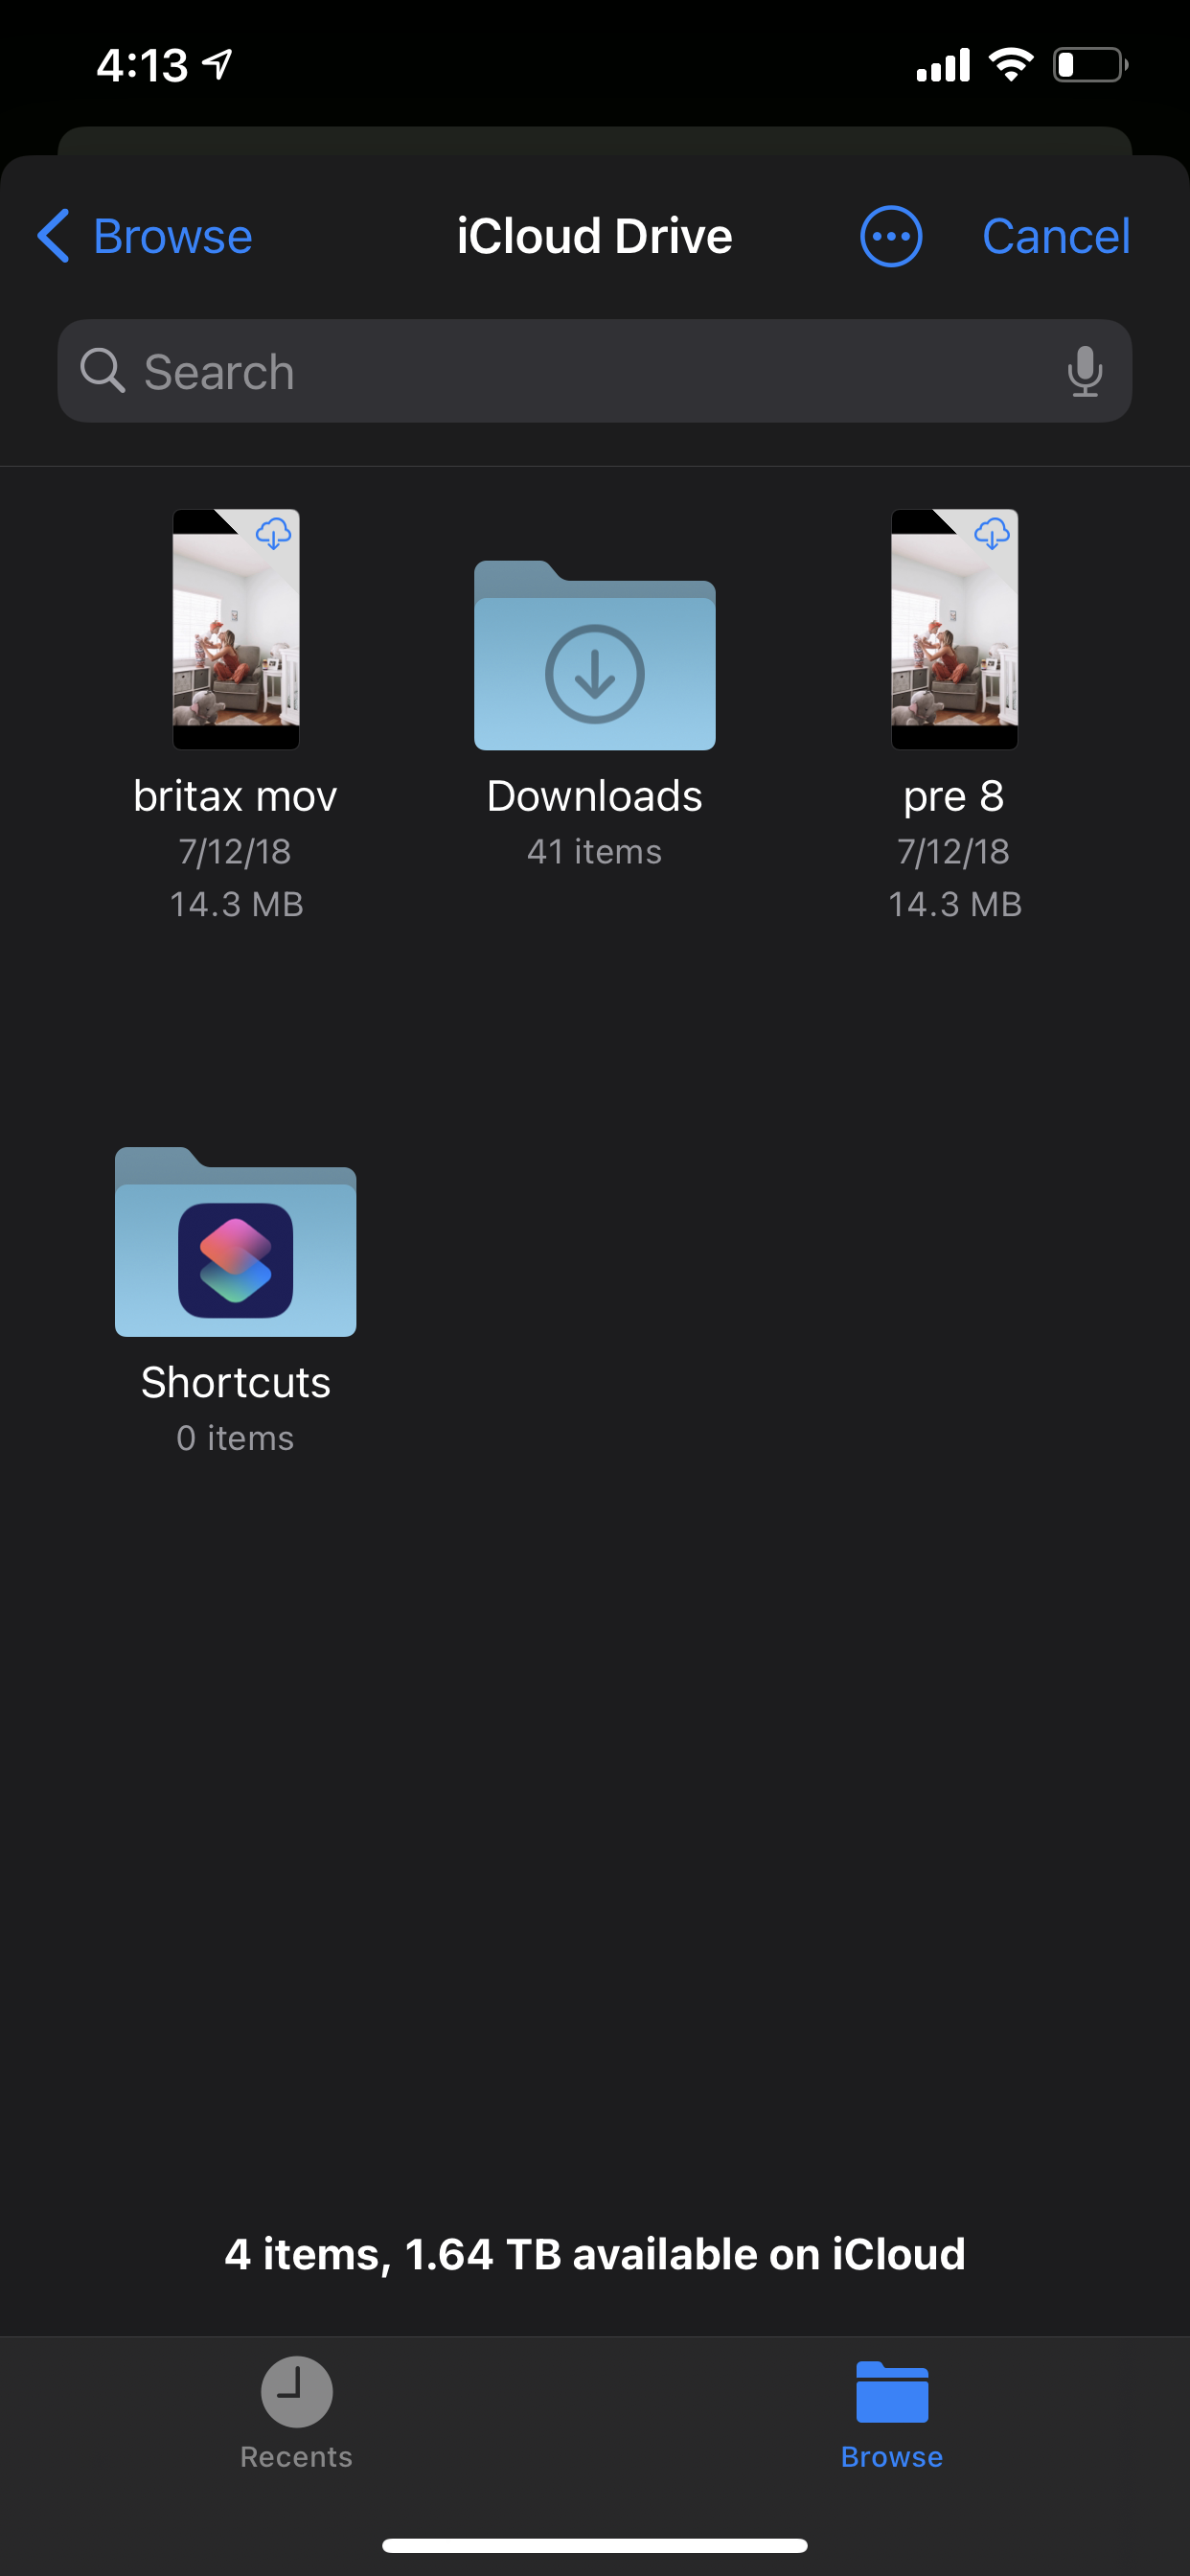
Click “browse” at the bottom of your screen, then click the “downloads” folder and there you will see your preset file(s).
Click the preset file you’re currently adding.
If you purchase the bundle, repeat this step for all 6 presets.
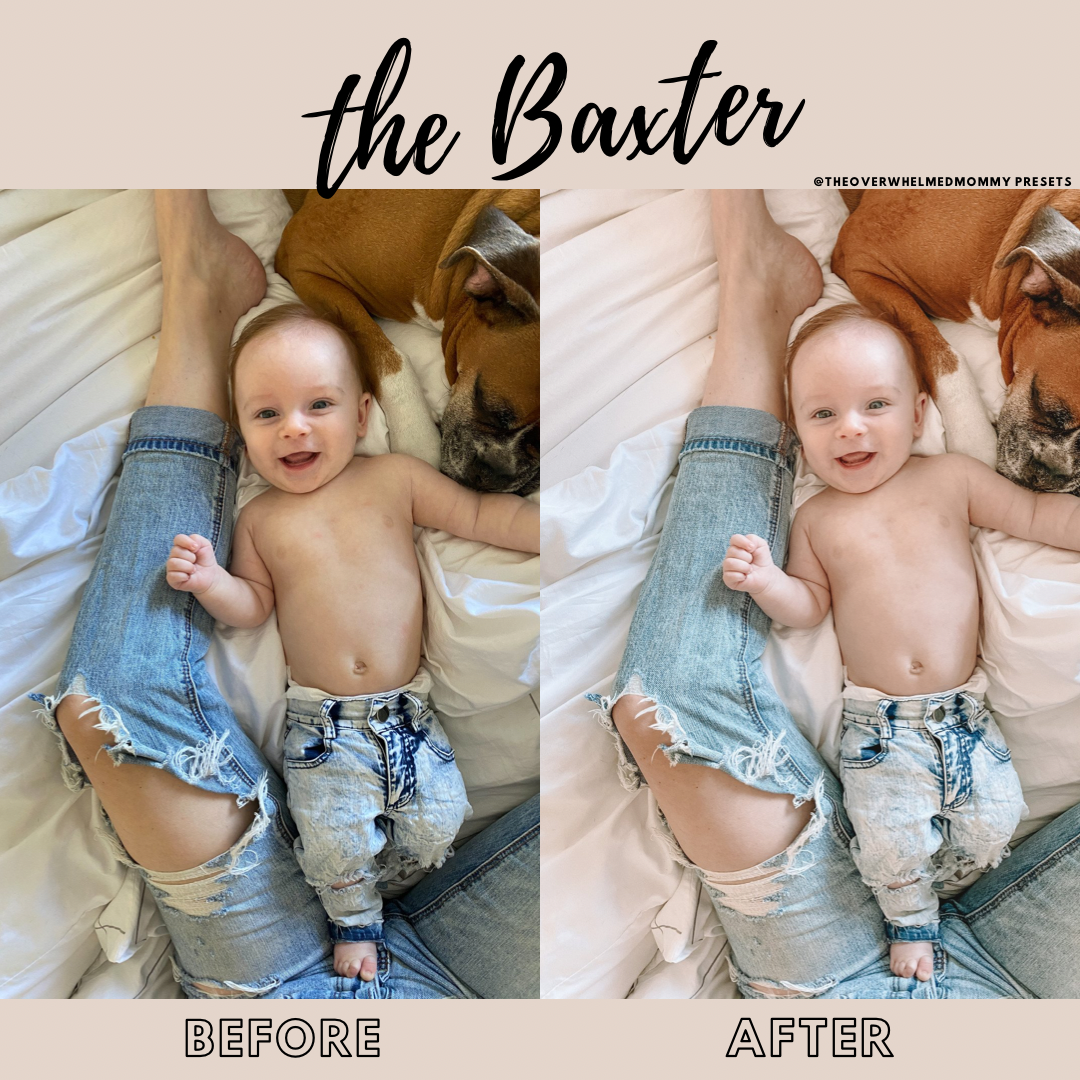
The image (photo of Hayes + Baxter) will now appear in your library. This image is actually a preset file.
[If you don’t see this image in your library, sort your library by “import date” by clicking the three dots at the top right and then “sort by import date.”
This will bring it to the end of your library so it’s easily accessible.]
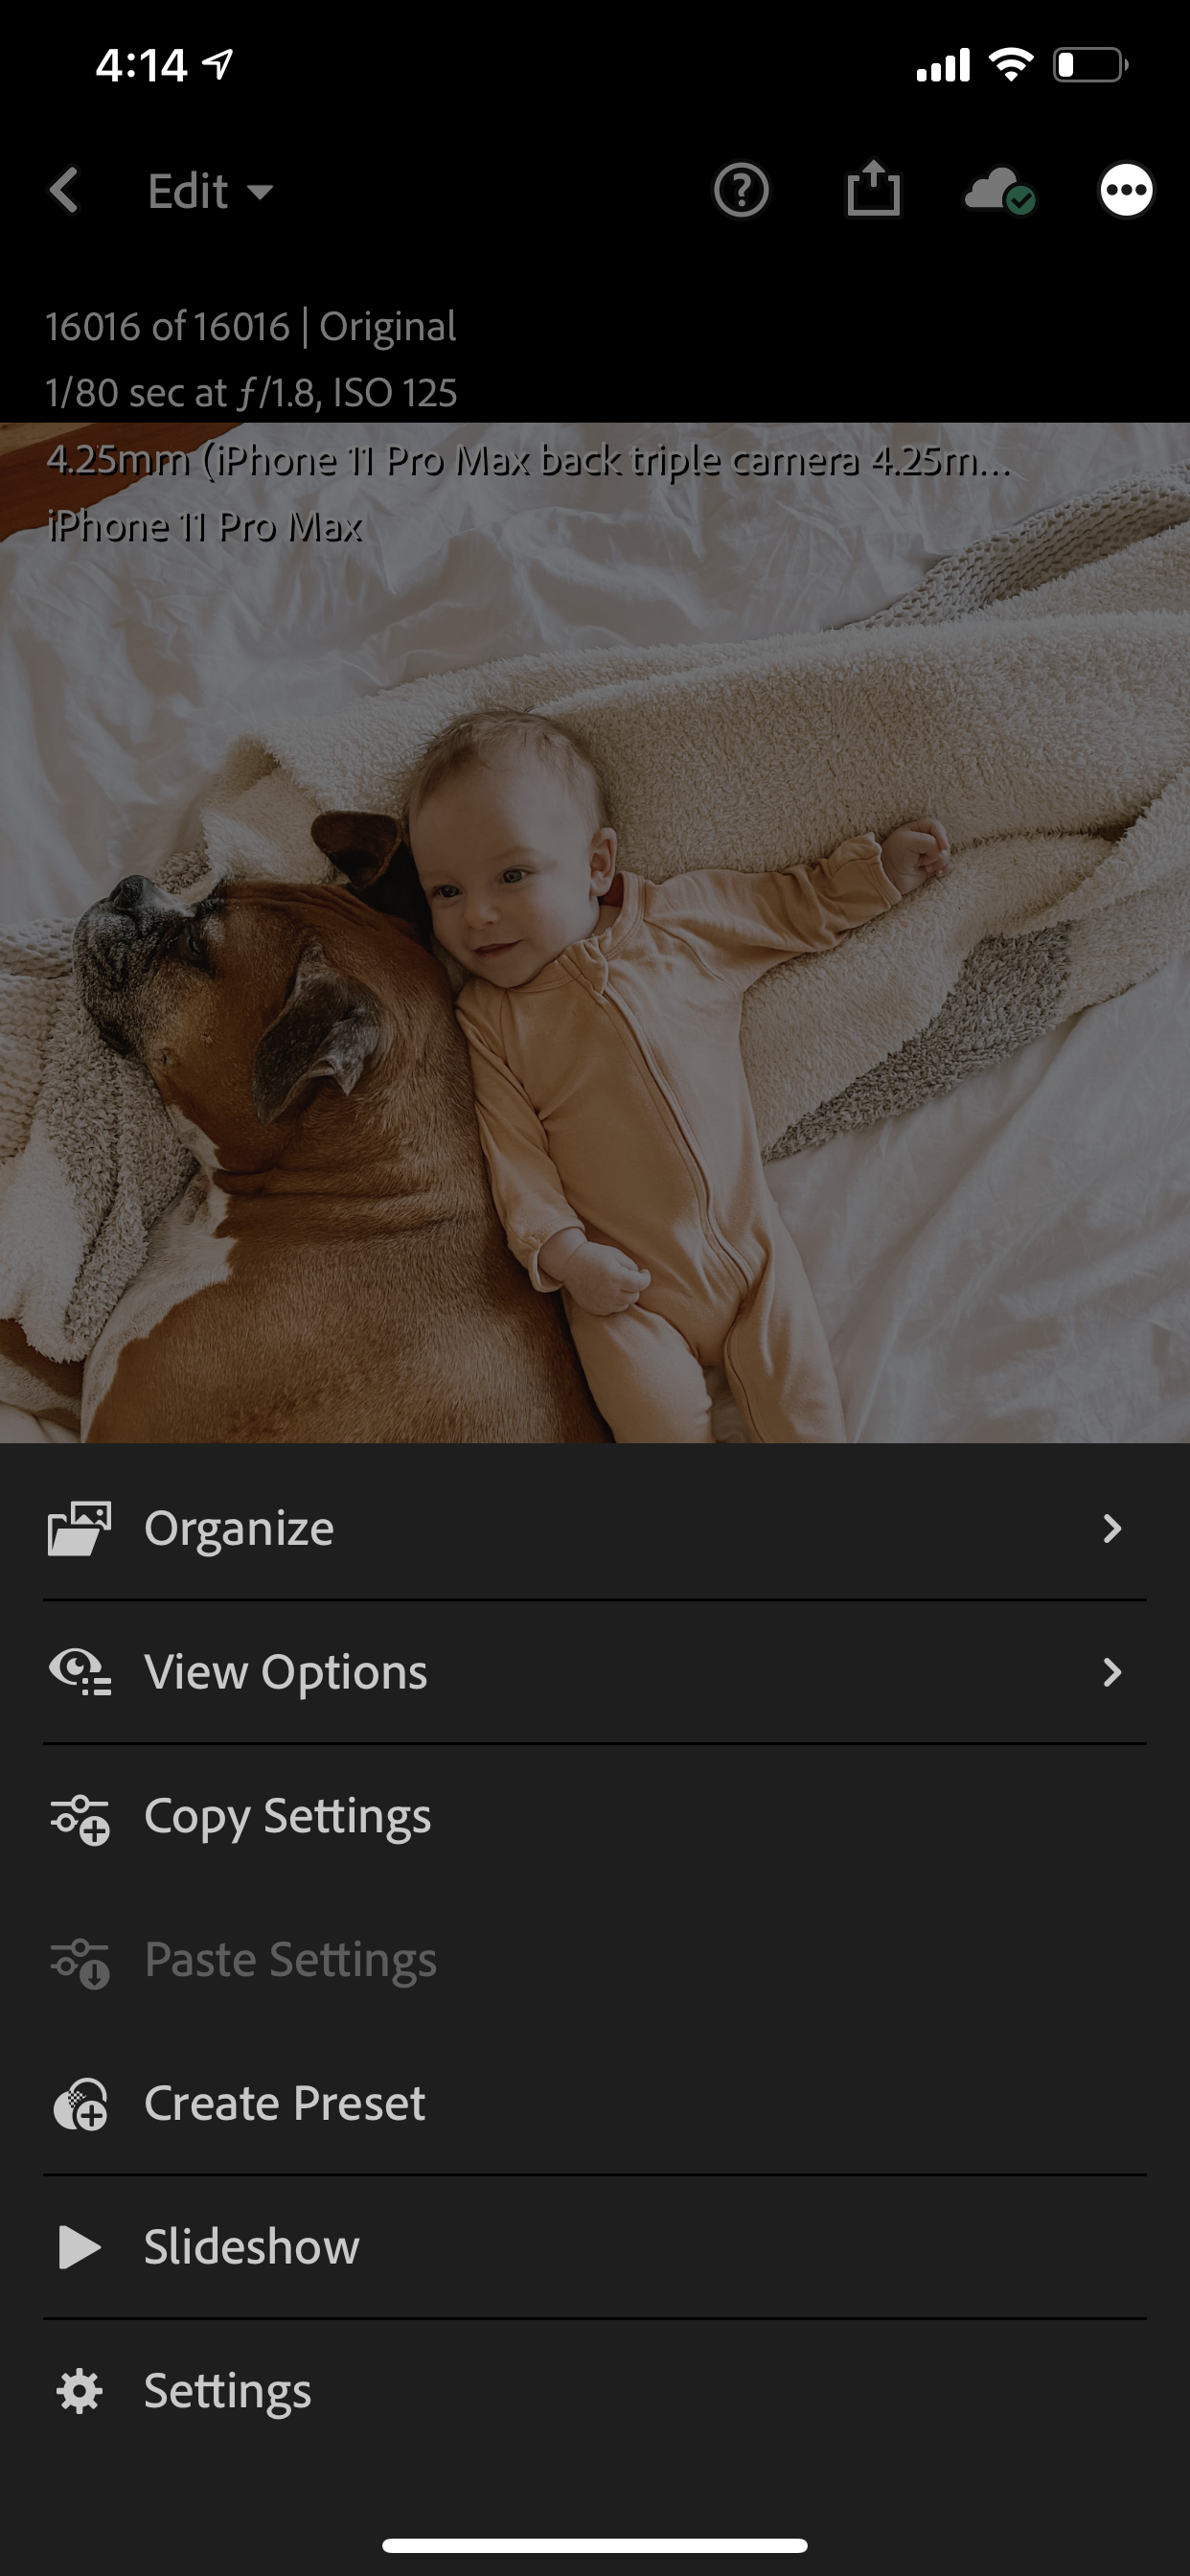
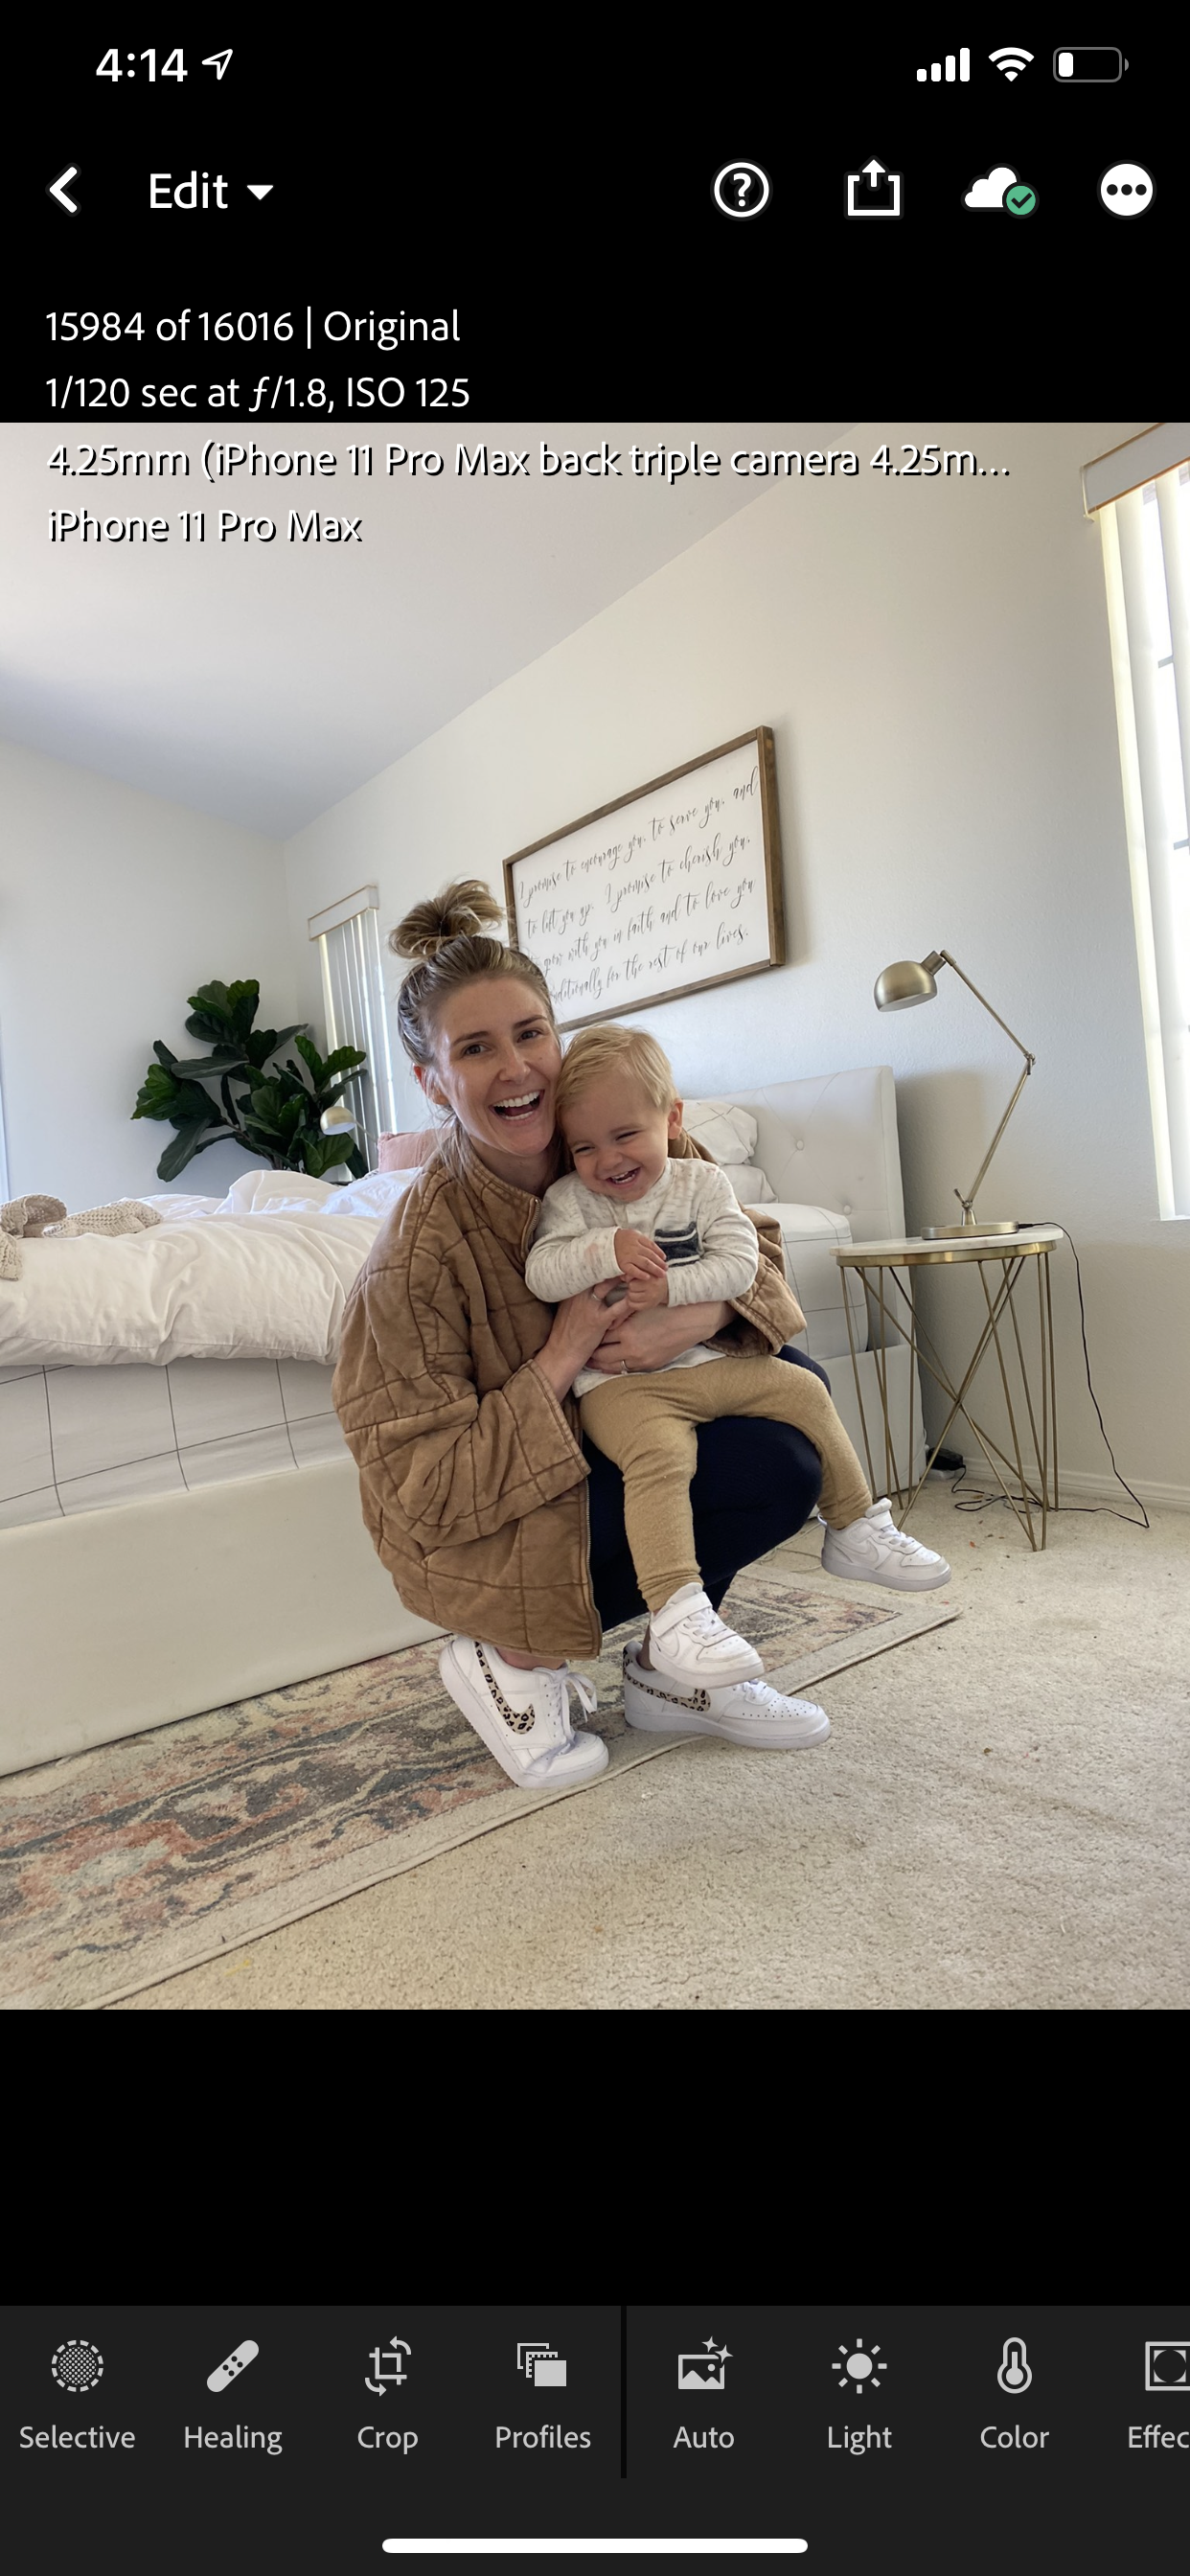
Click on MY image (the photo of Baxter and Hayes that you just downloaded).
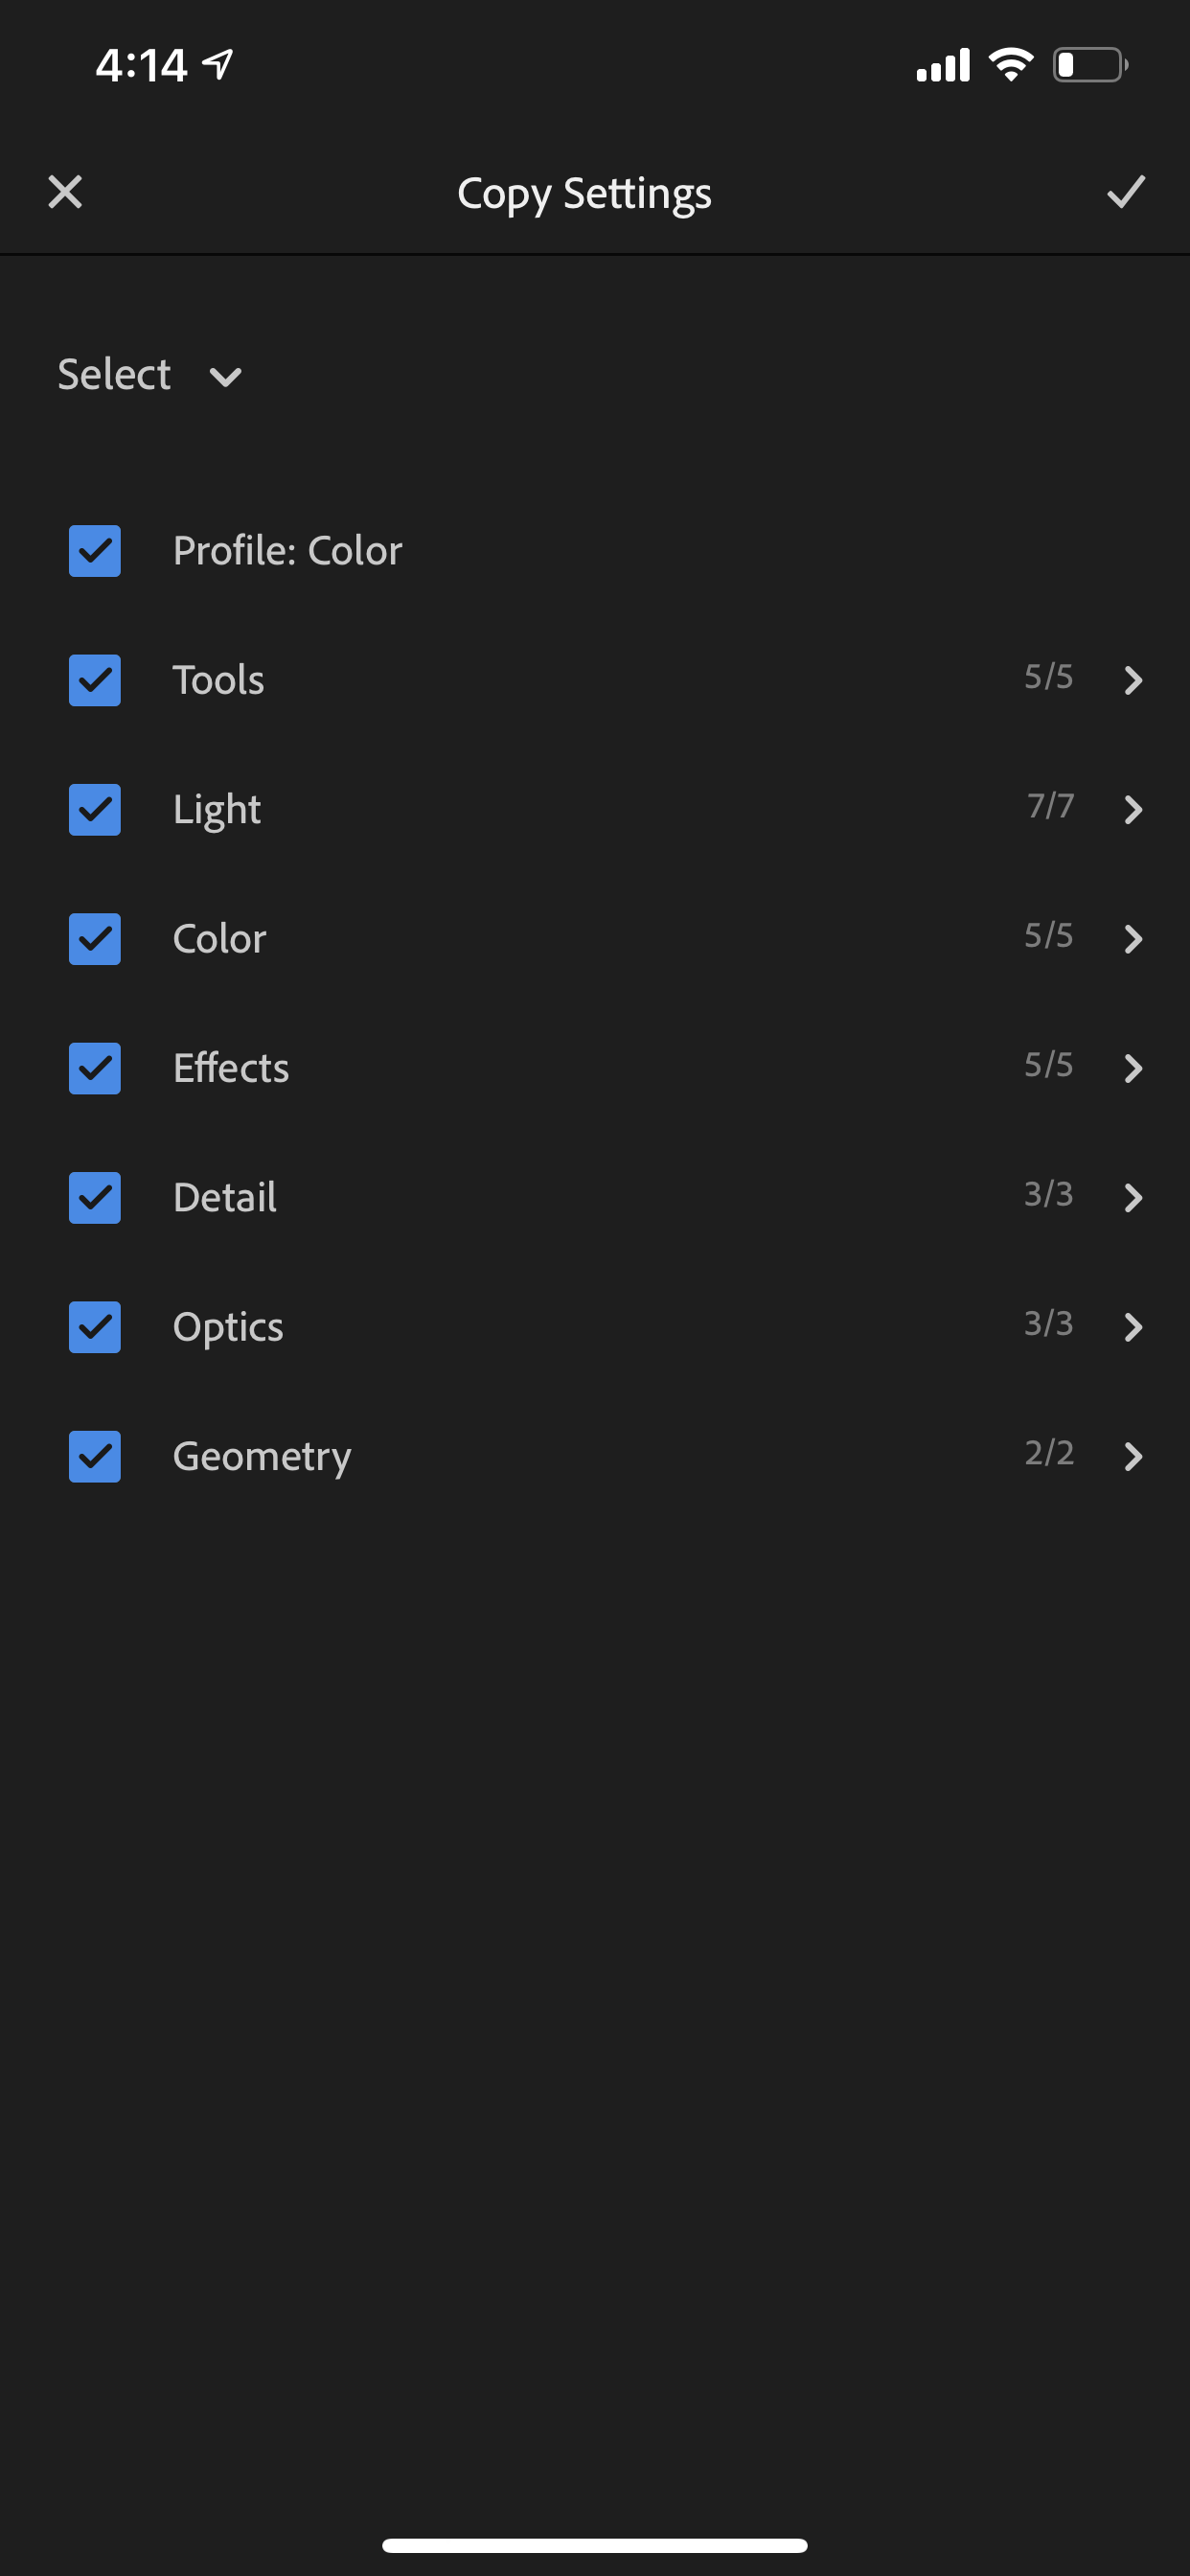
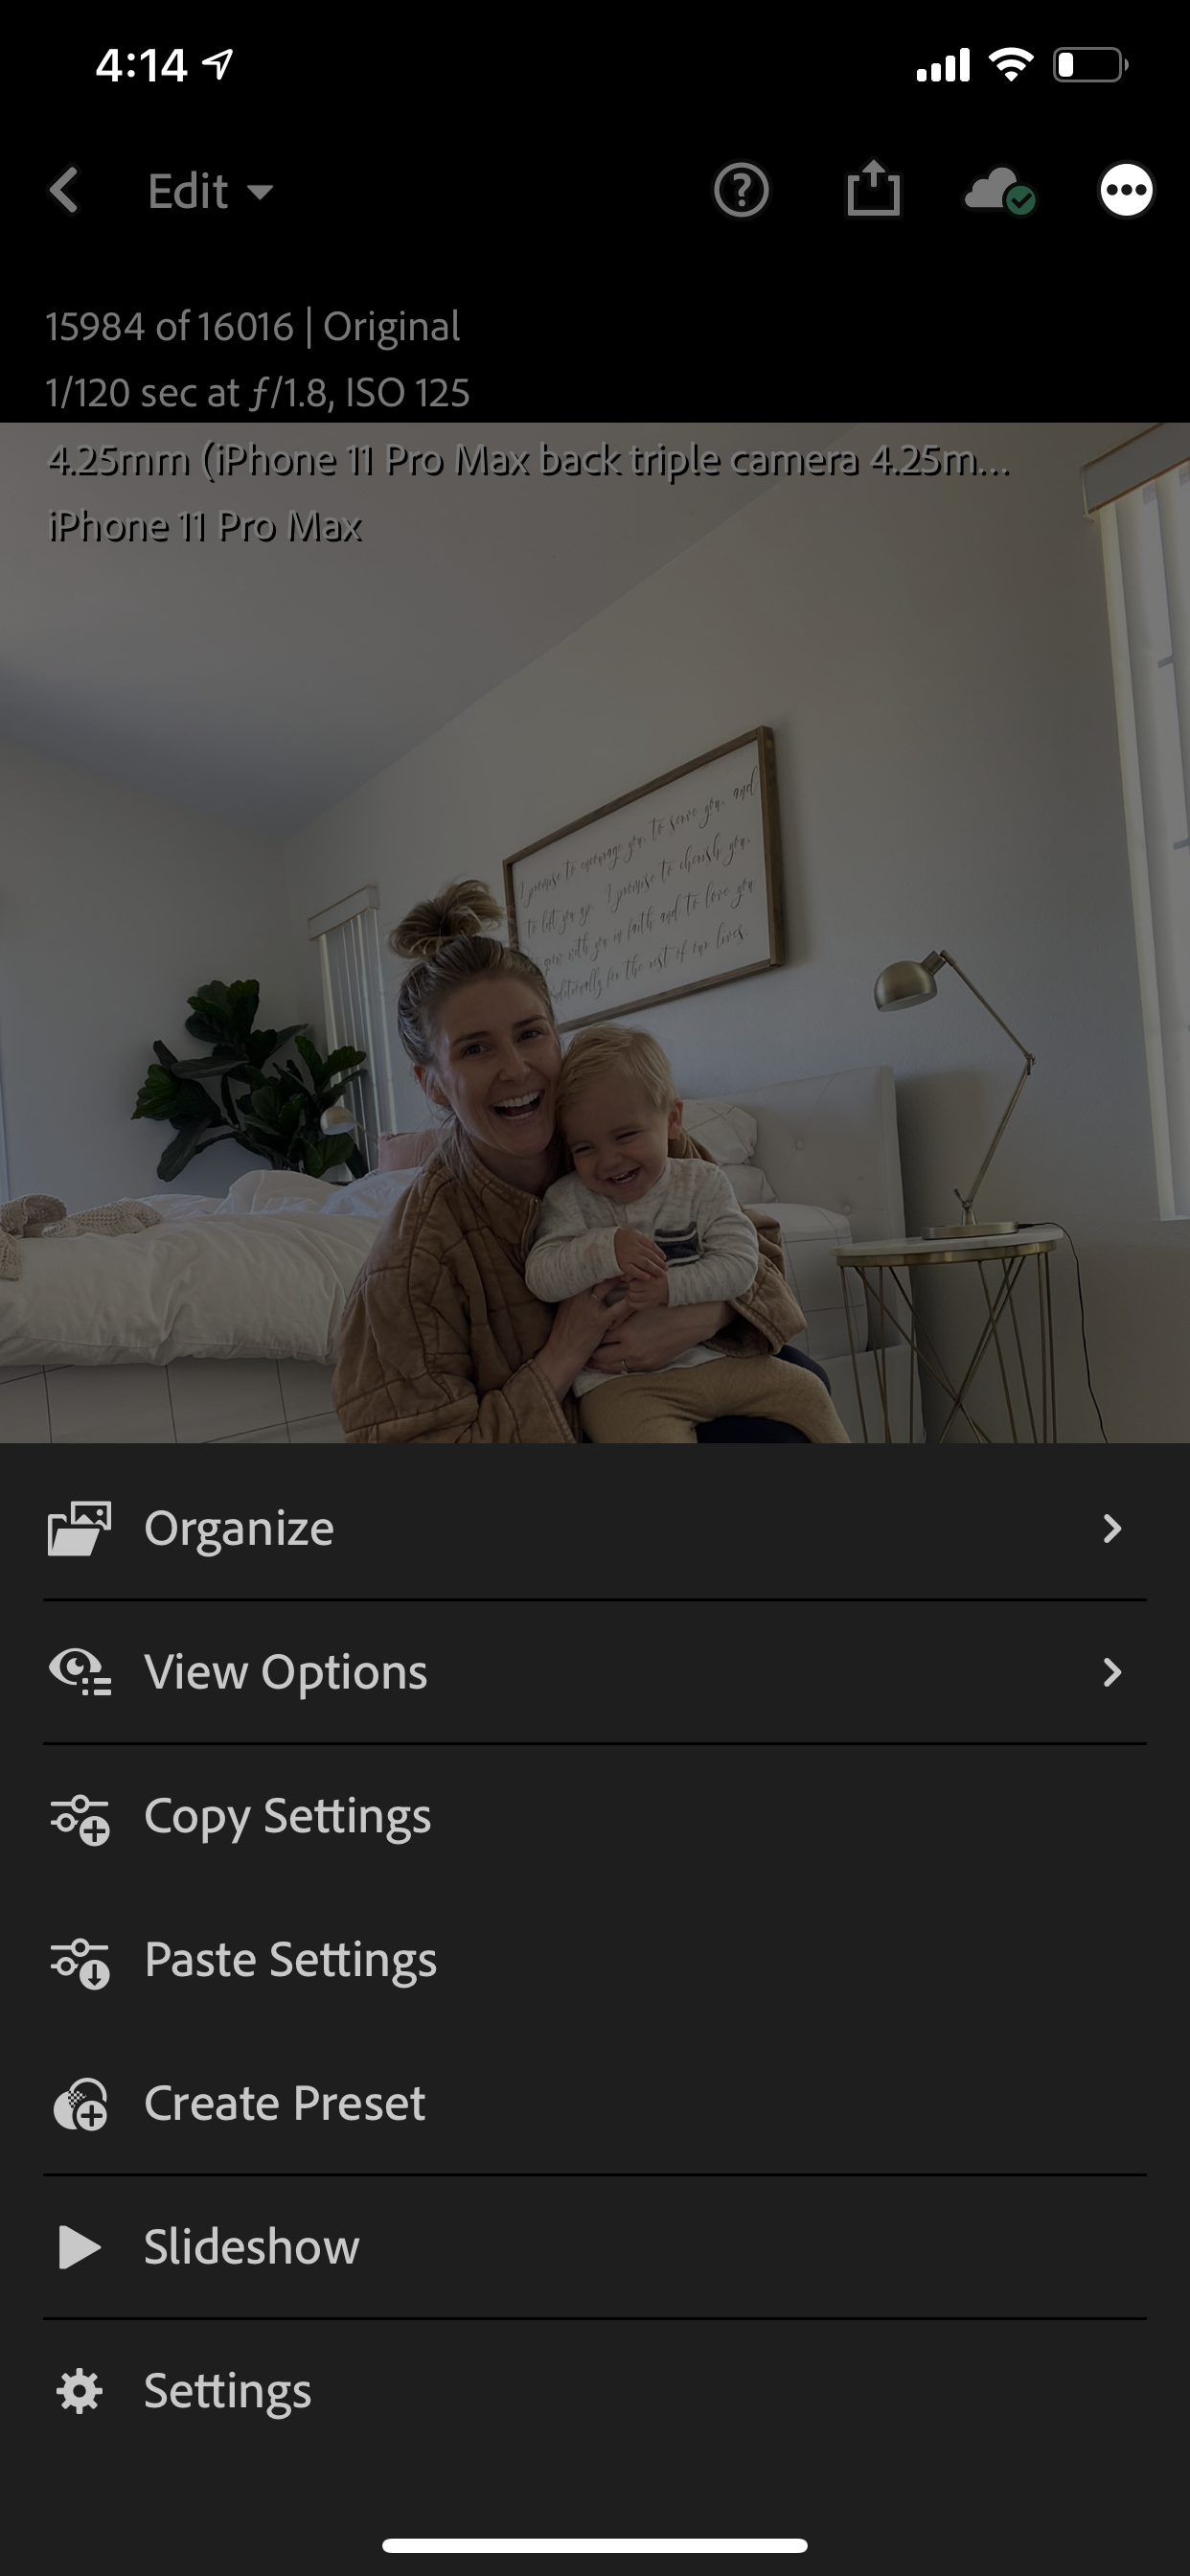
Click the three dots on the top right hand side of your screen, click “copy settings”
and then click the check mark at the top right hand corner to finish copying.

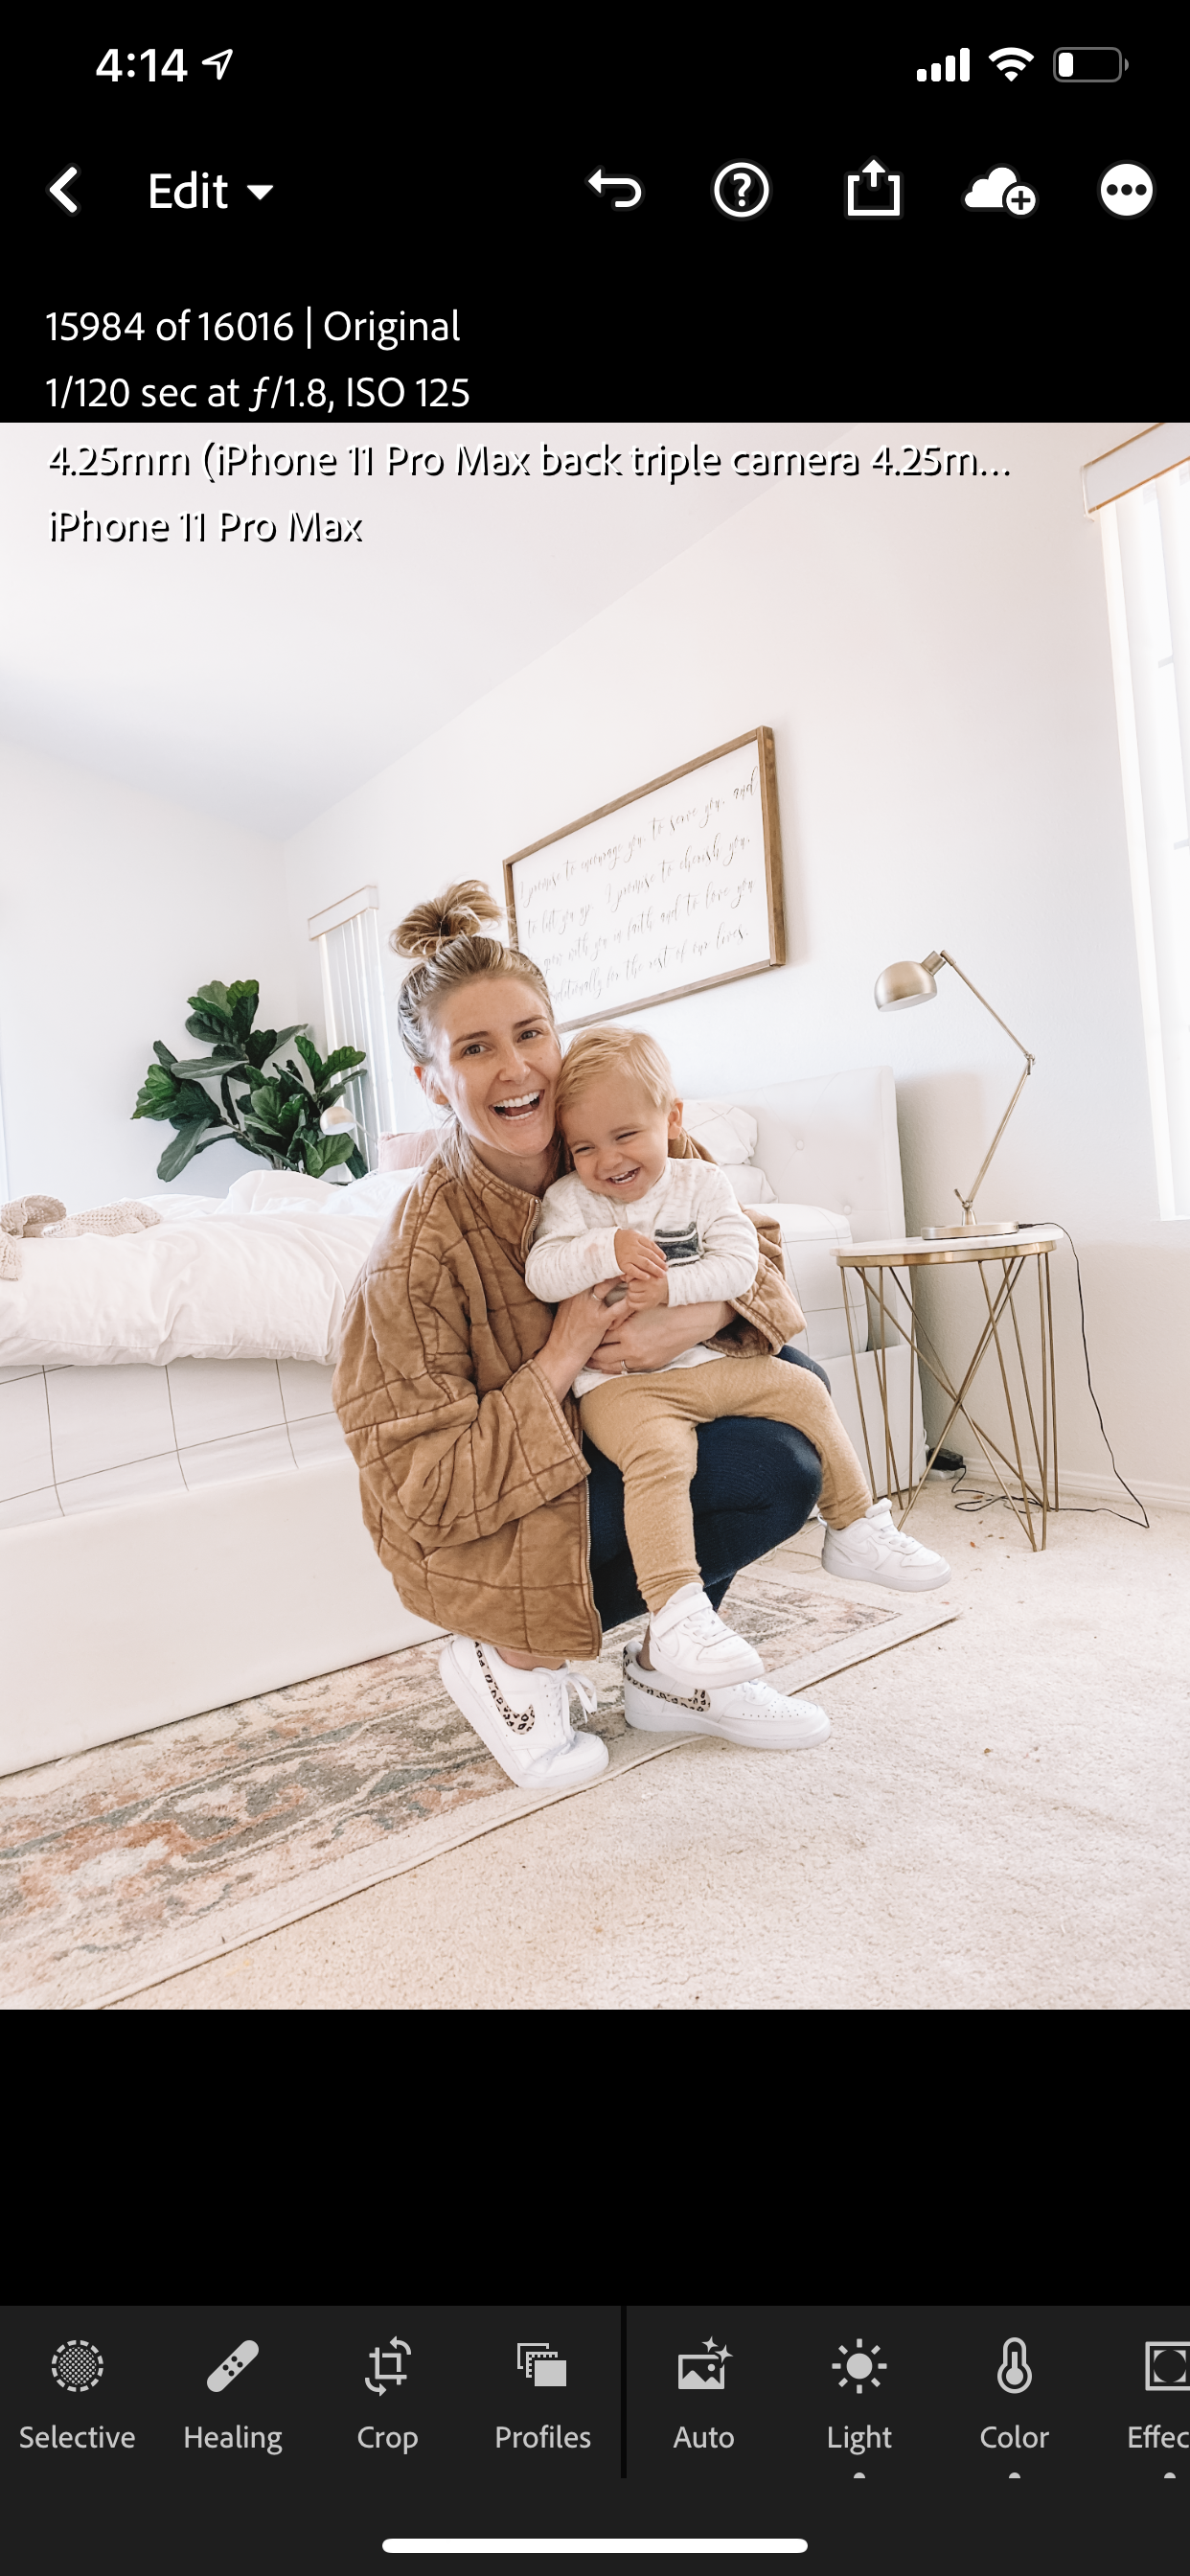
Click the back arrow at the top left hand corner to head back to your library.
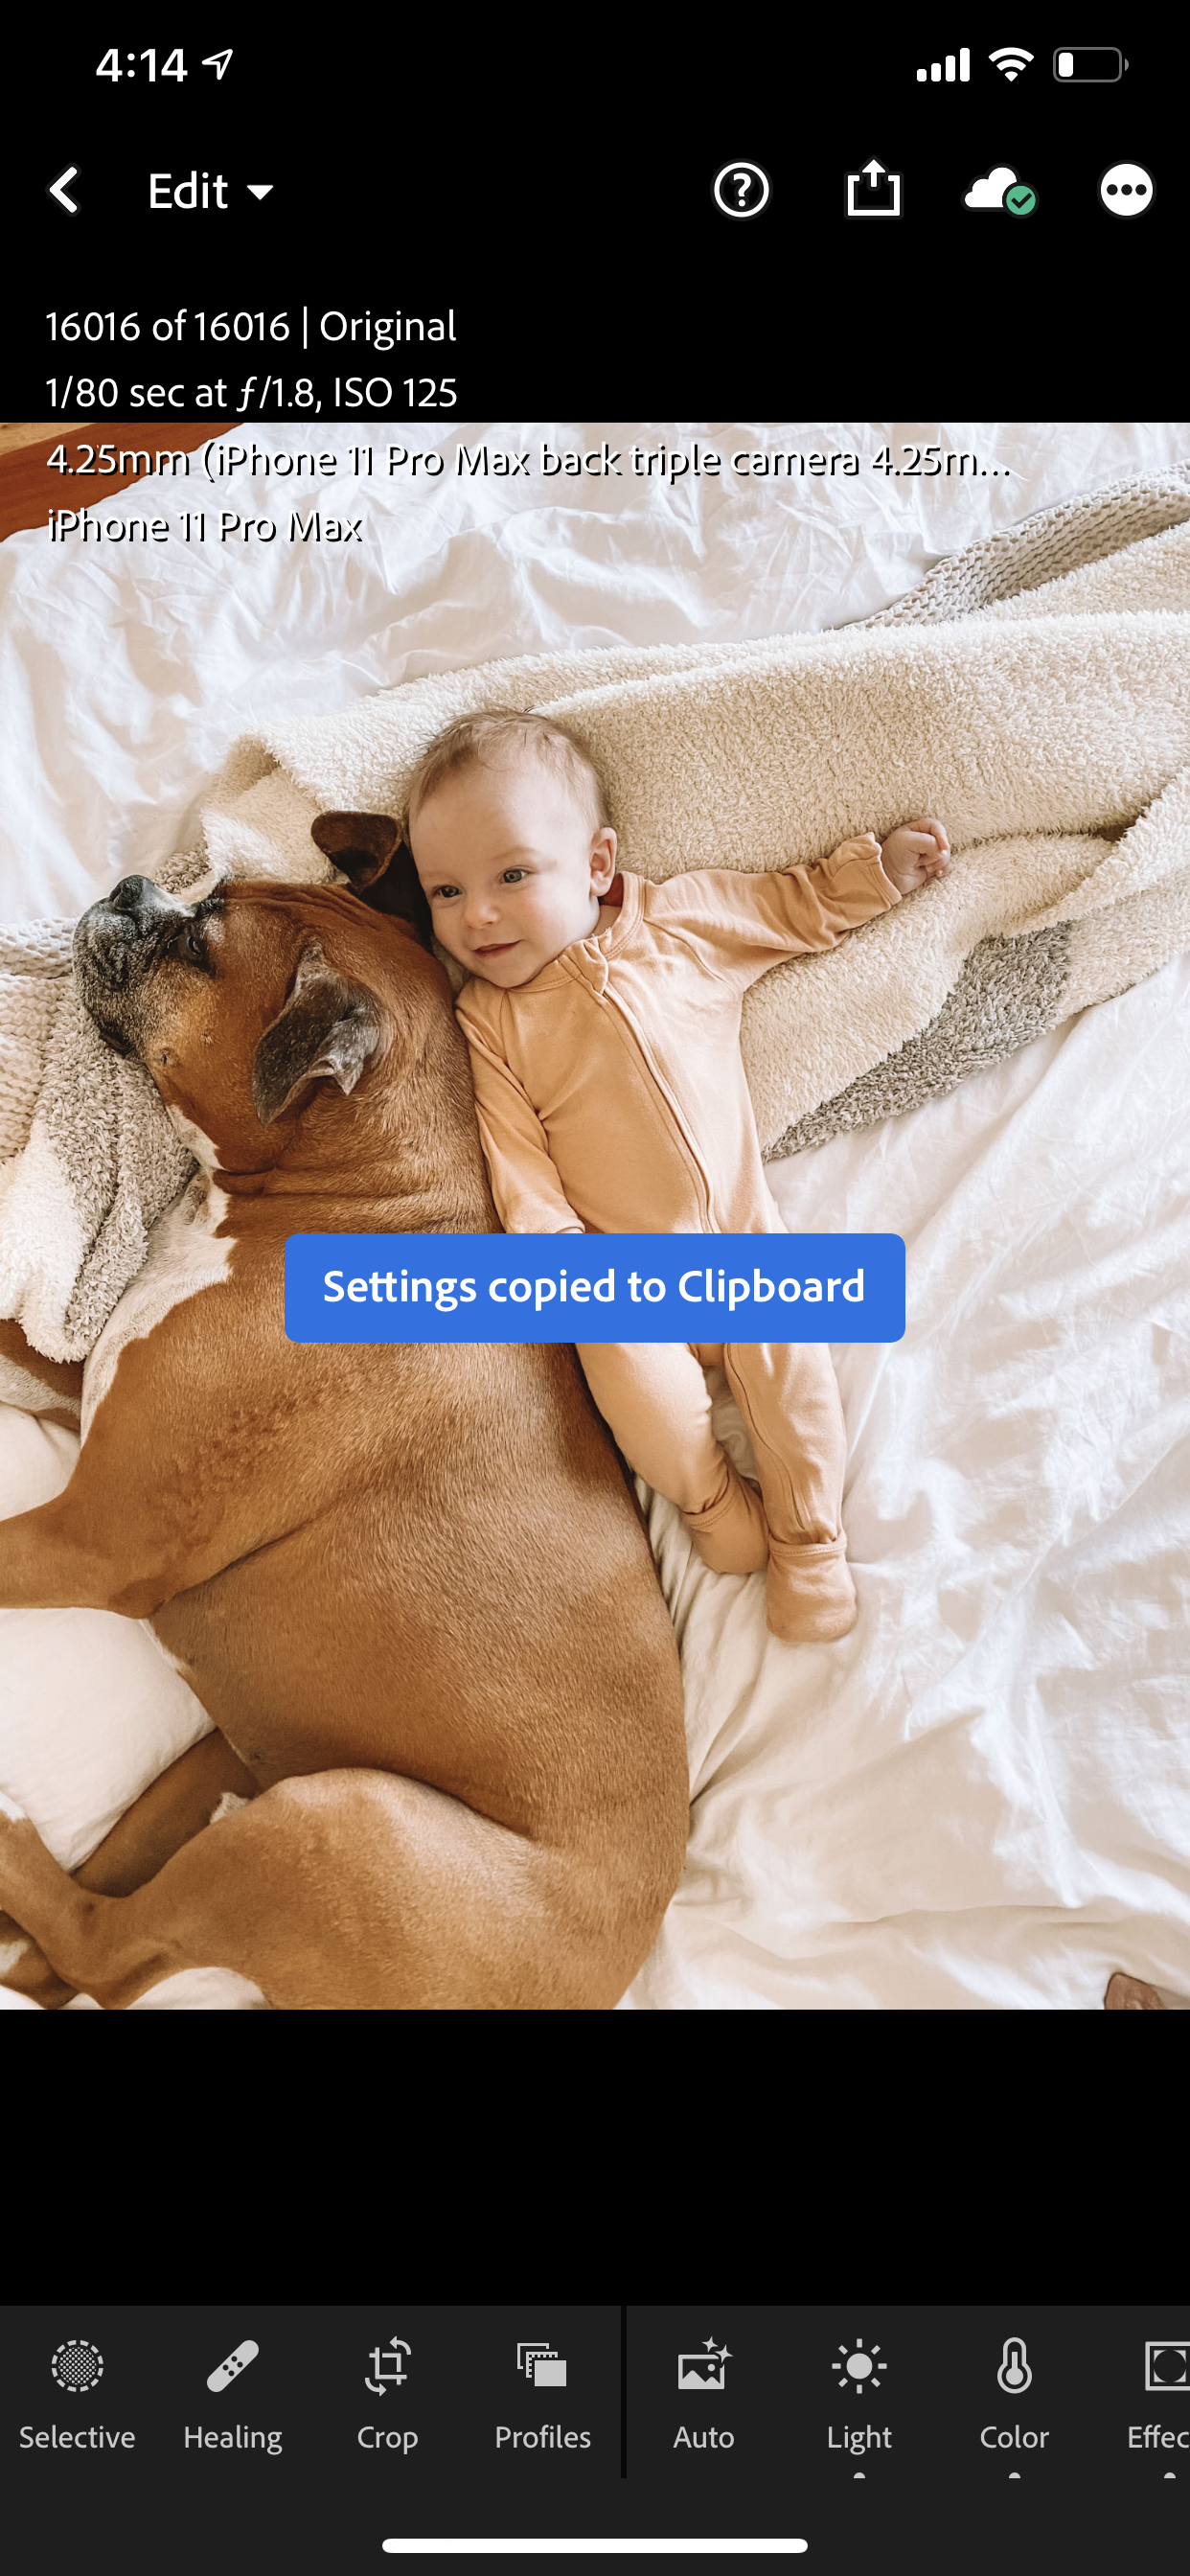
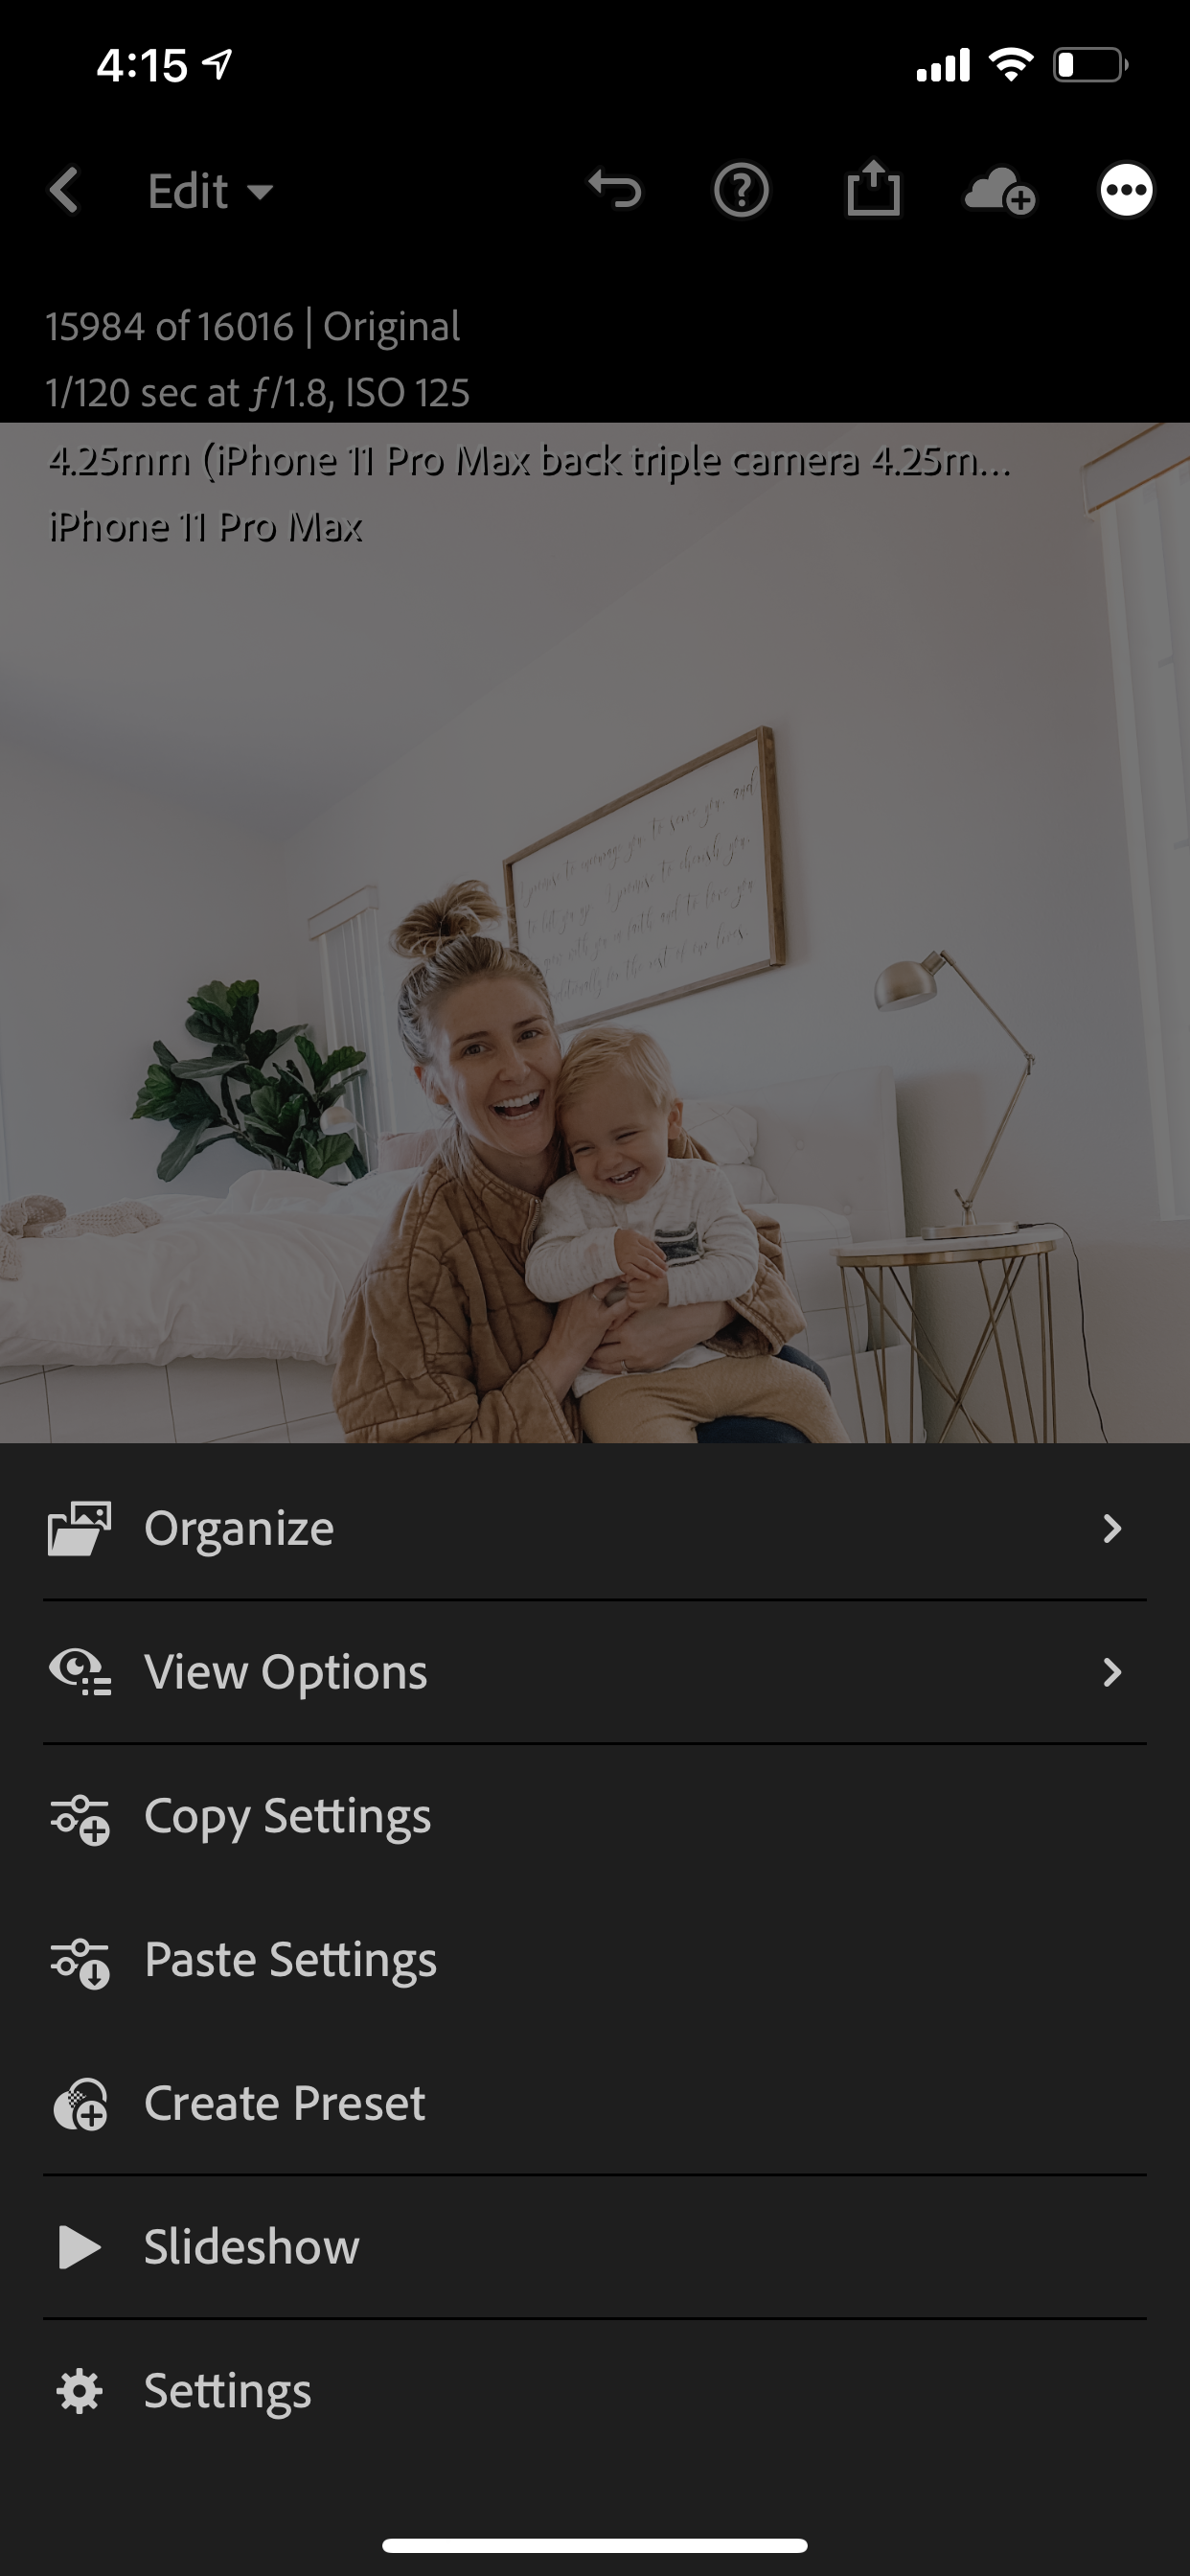
Next, click on one of your own photos (any photo will do), click the three dots at the top right hand corner of your screen and click “paste settings.”
Your image is now edited with the preset you’ve purchased but don’t stop there. We’re almost done!
Saving Your Preset Permanently to Your Lightroom
Now we’re going to save the preset permanently to your Lightroom so you never have to complete these steps again (woohoo!).
You should still be looking at your own image (not my image) that we just edited.
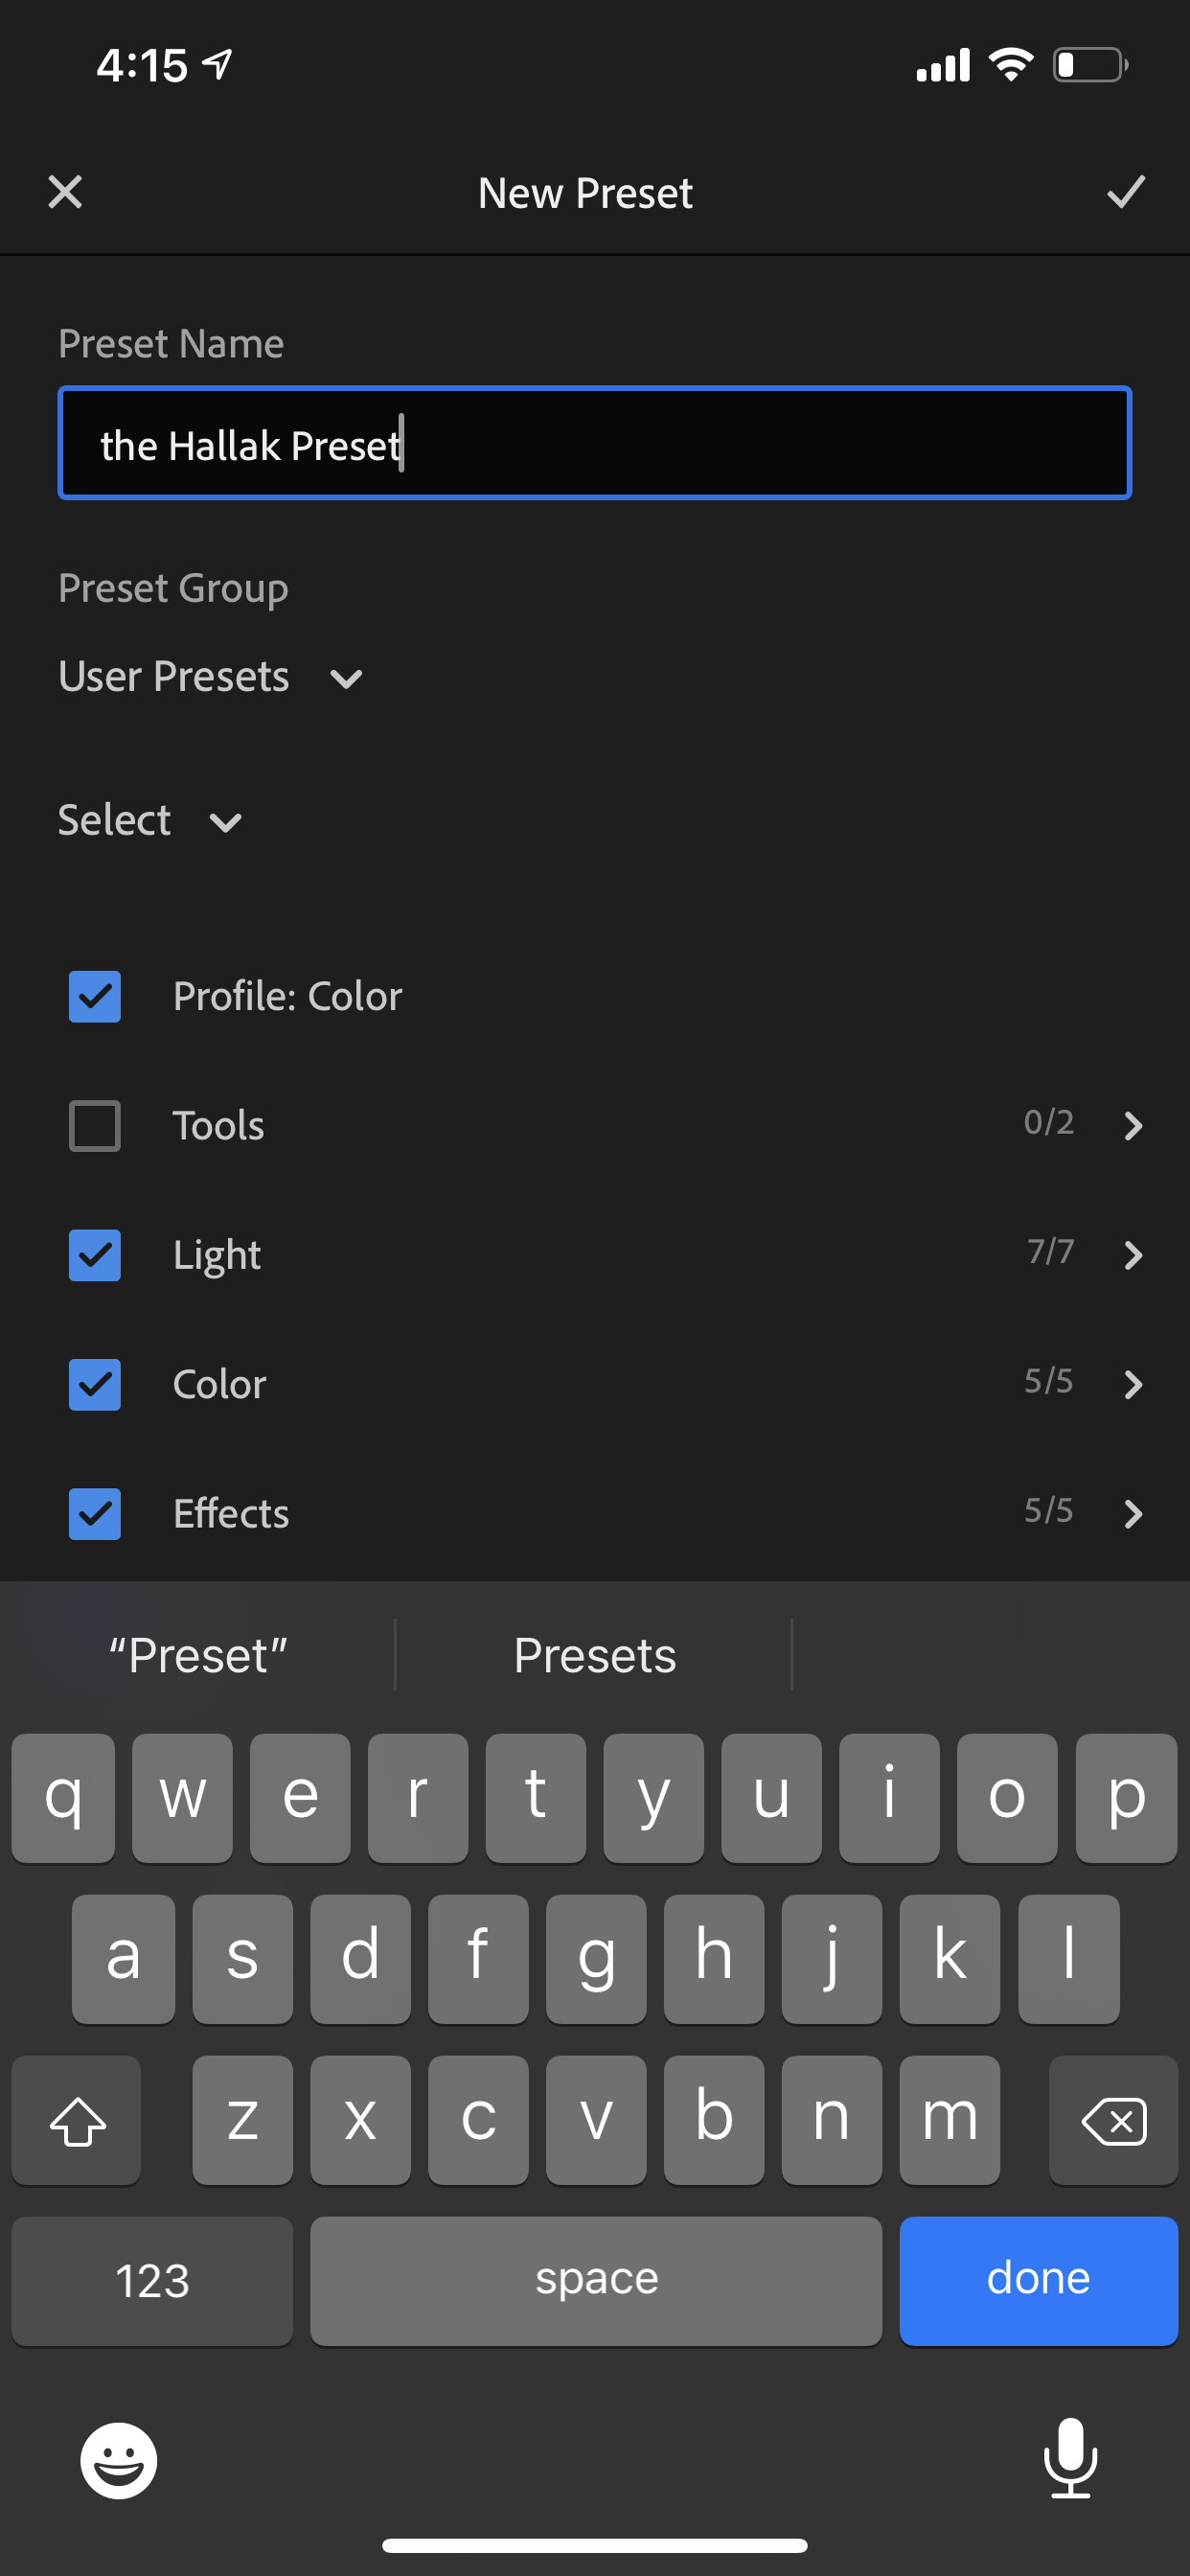
Click the three dots at the top right hand corner and then click “Create Preset.”
You can name the preset whatever you’d like and then click “done” and check the checkmark at the top right hand corner to save.
You’ll now get a pop up that says “[PRESET NAME] added to “User Presets.”

You’re done! You did it!!
Not THAT bad, eh? Okay maybe it was a lot of steps but now you never have to do any of that again.
Well.. if you bought more than one preset then start from the top again with the next one (I promise it gets easier and quicker each time).
But if you’re ready to learn how to use your presets with one click each and every time, then keep on reading.
How To Use Your One-Click Presets in Lightroom
Click on the photo you’d like to edit.
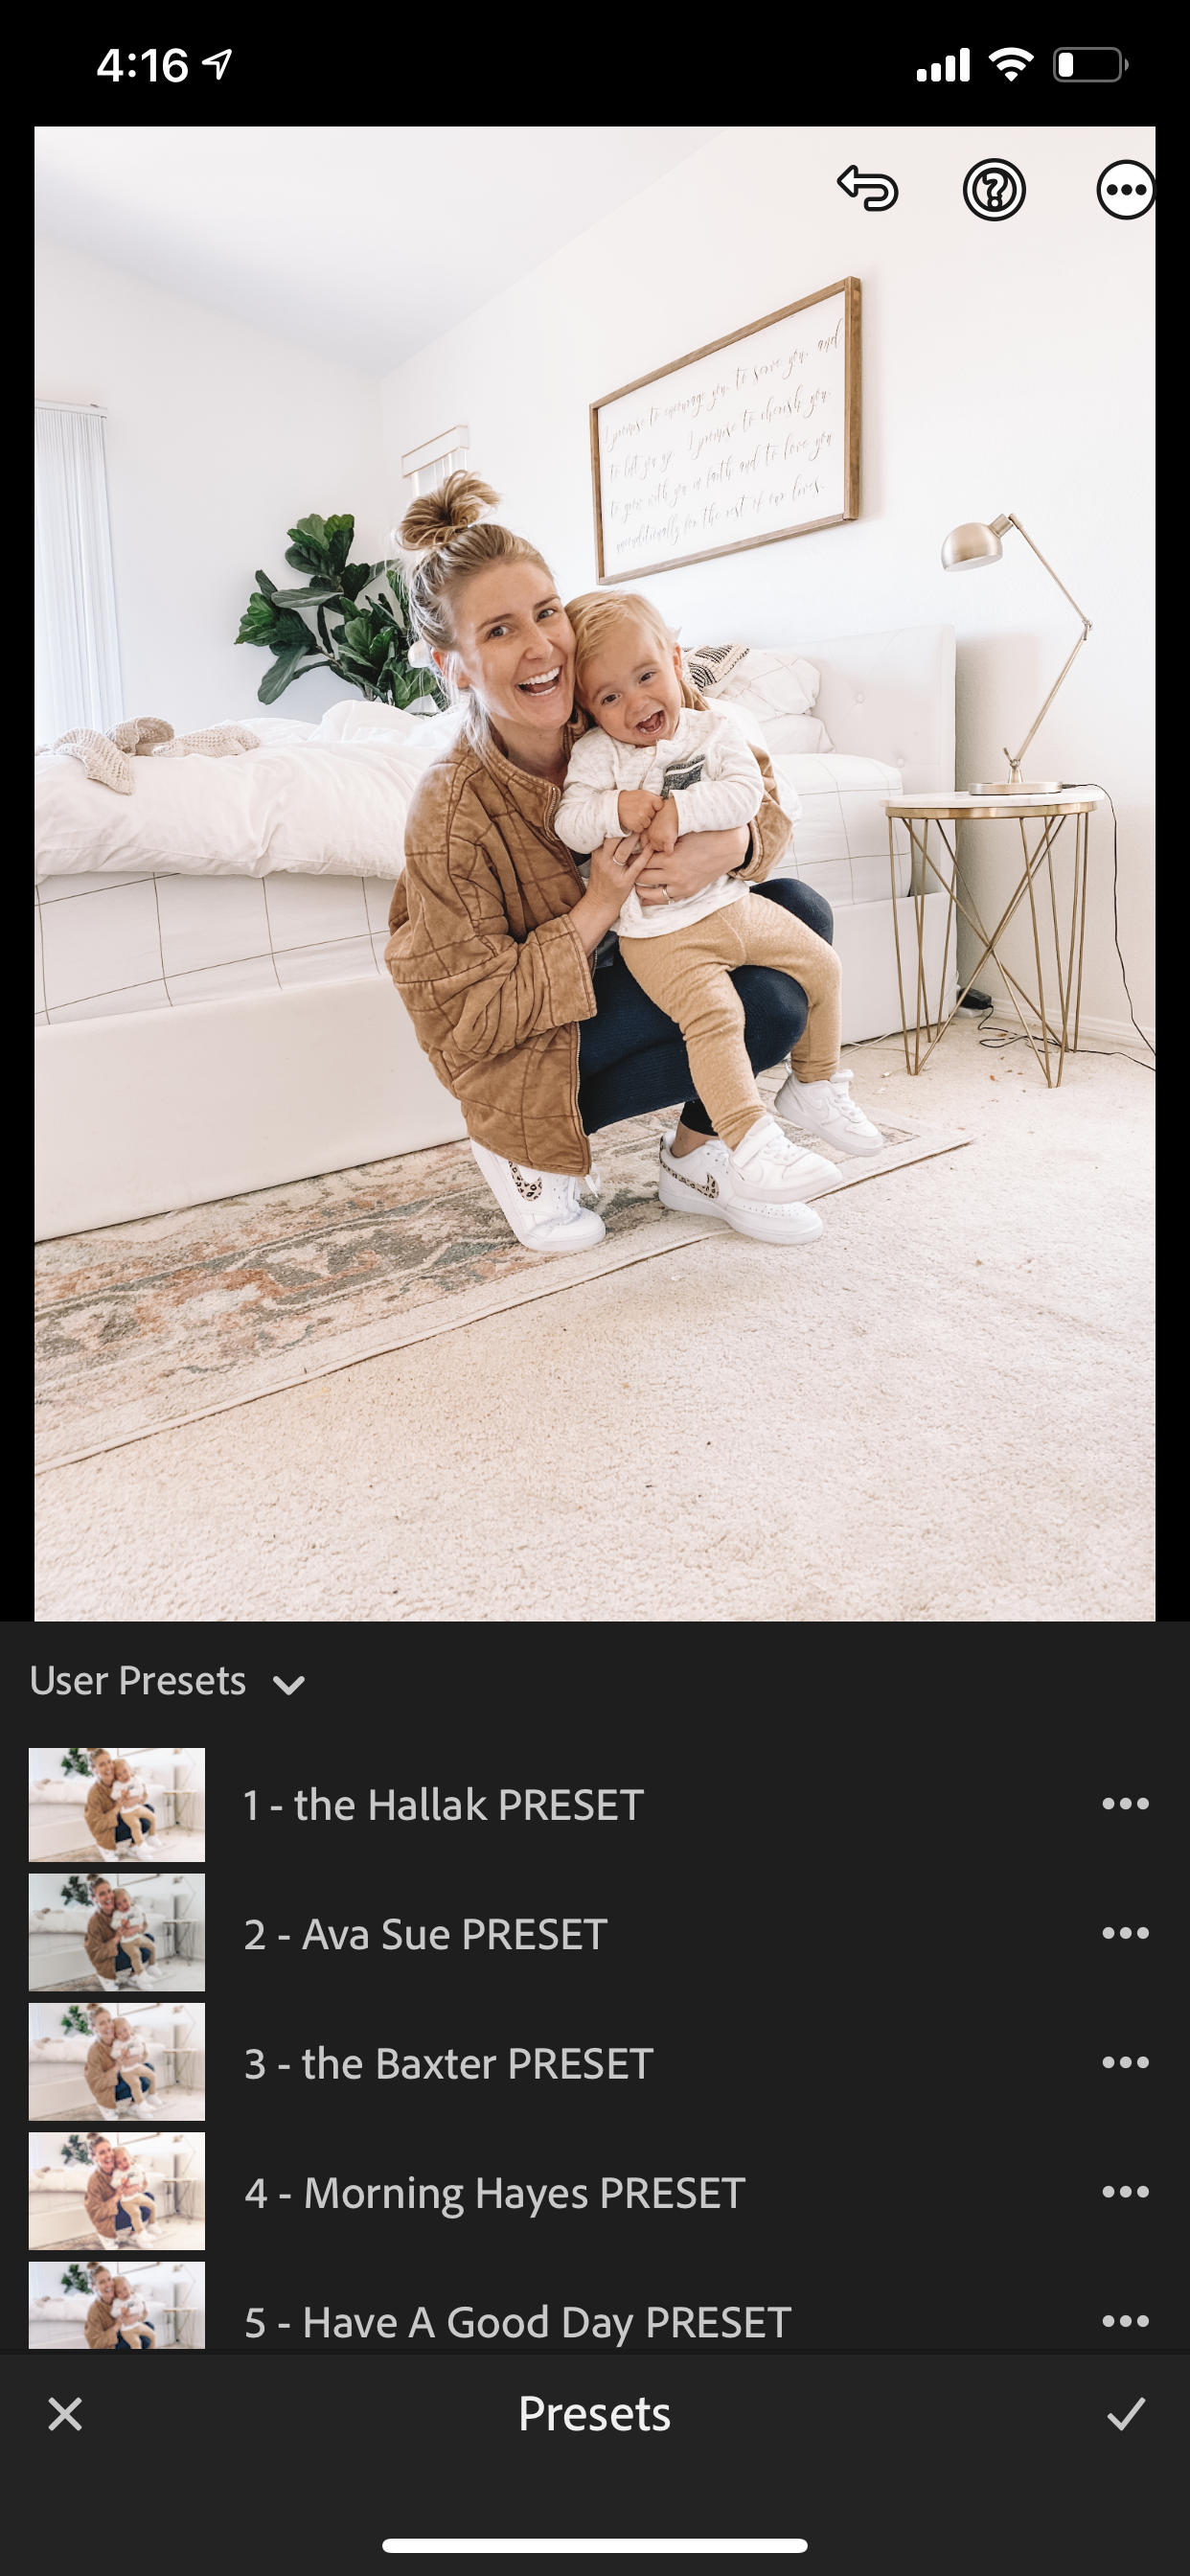
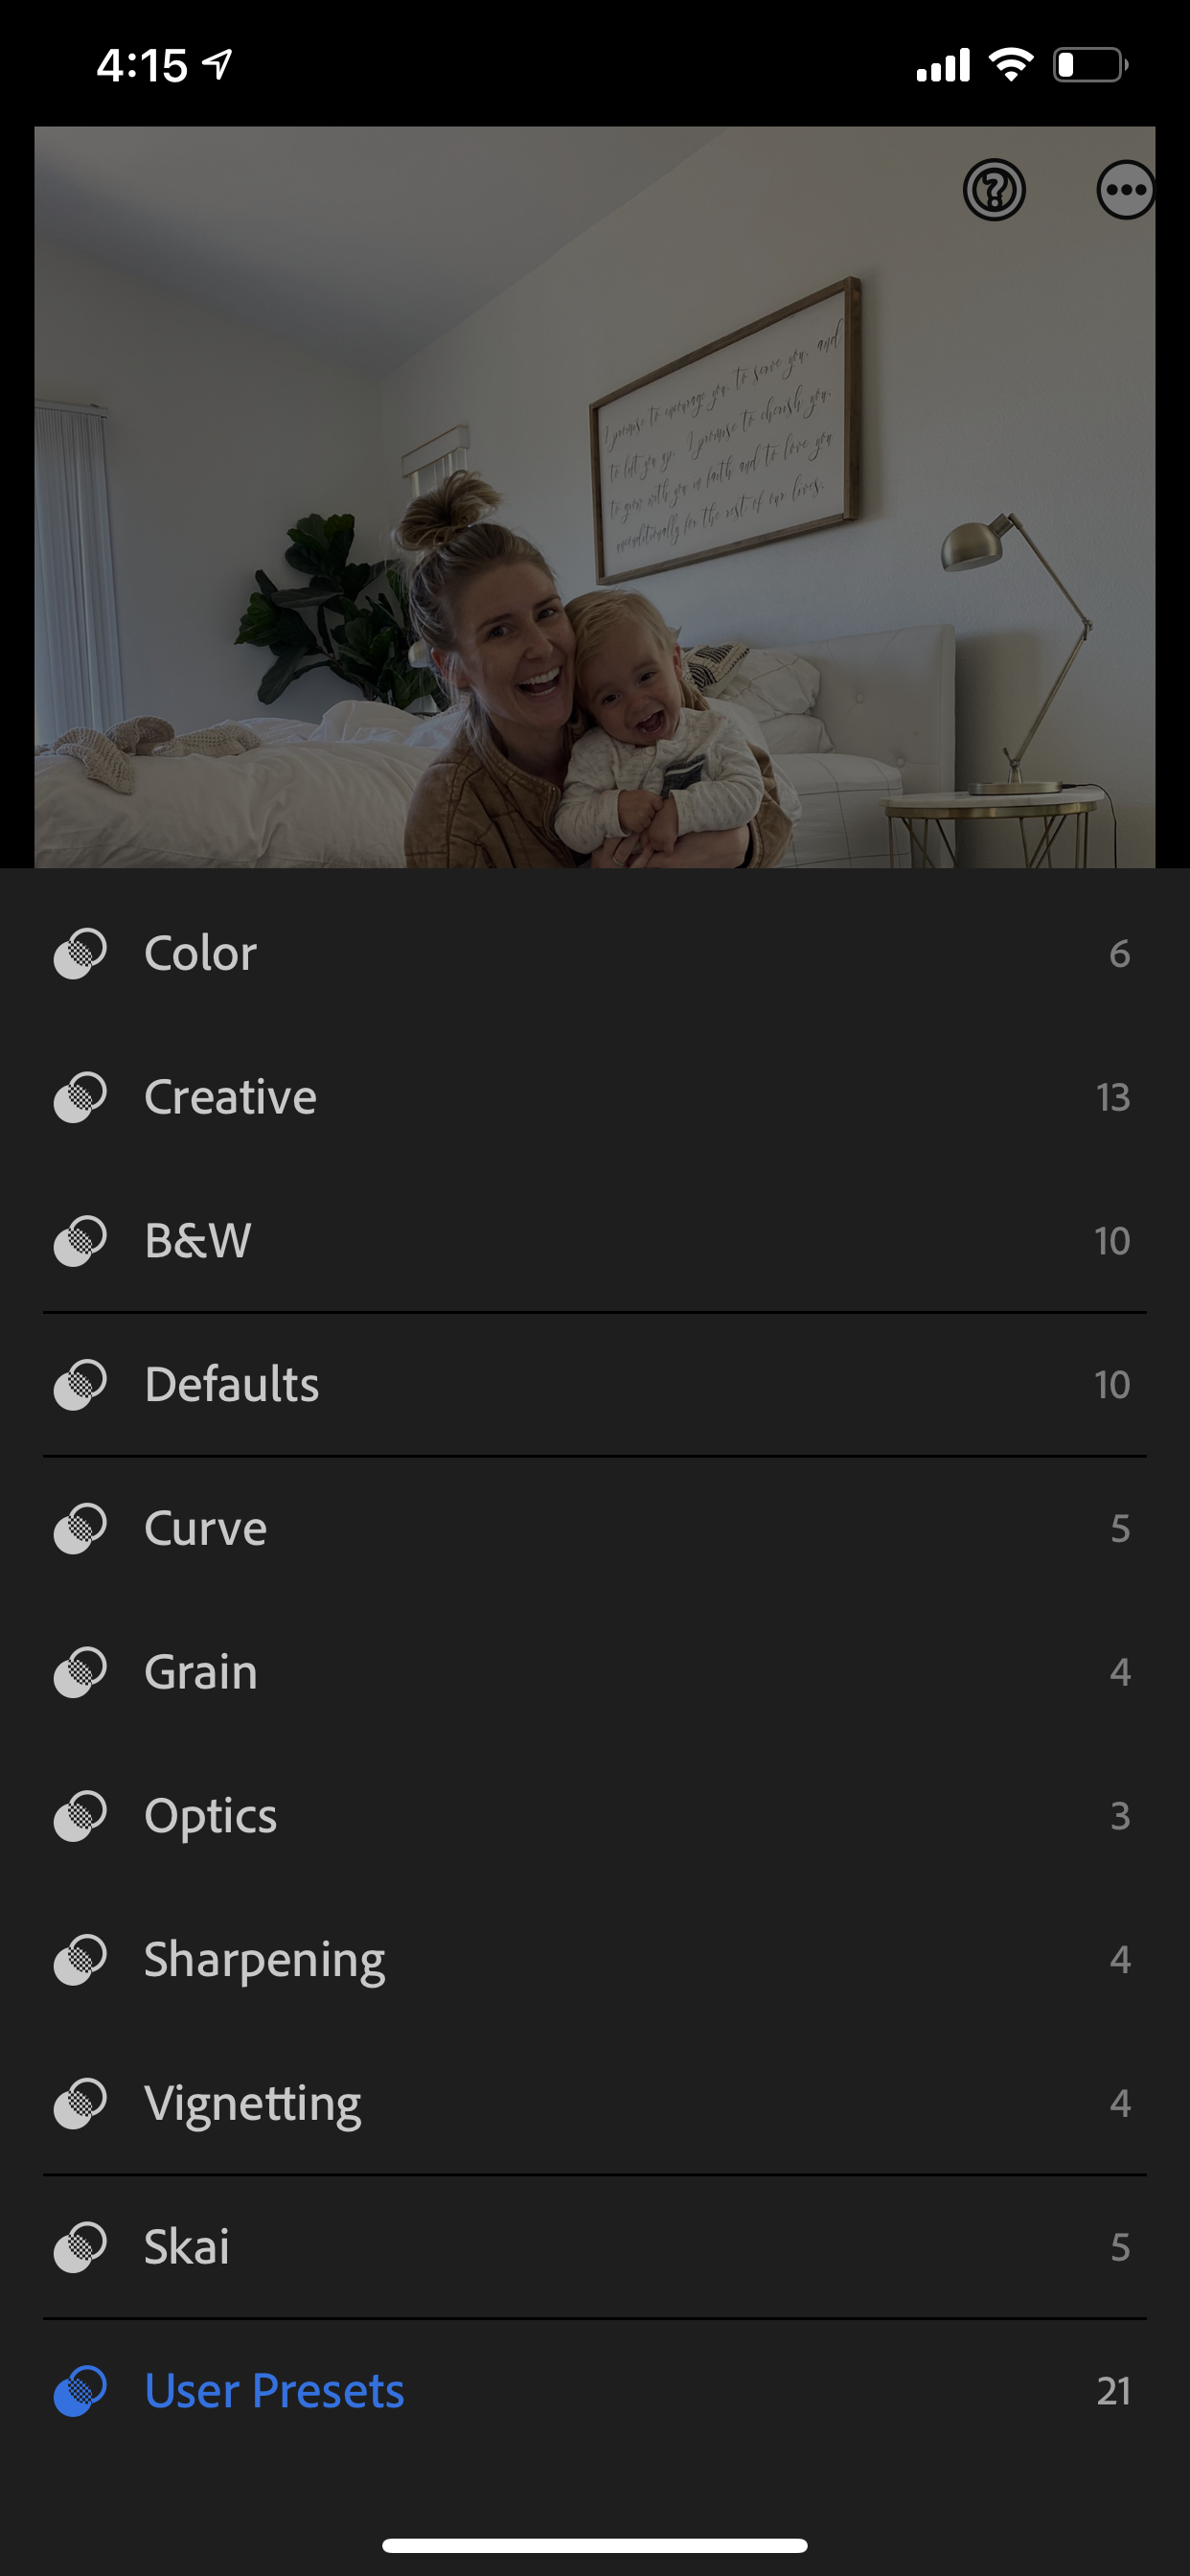
Click “presets” on the bottom (you may need to scroll over to find it) and there you will see all of the presets you’ve named (it’ll be named whatever you named it from above). If you don’t see it right there, click “User Presets” and it’ll pop up for you.
Click the preset you want to use and boom shaka laka — your photo has been edited with just that single click!
Easy peasy lemon squeezy, huh? At least I think it’s pretty cool ;)
Depending on lighting (sunny vs shady, indoor vs outdoor, night vs day time) you may sometimes want to play with the exposure (found in the “light” tab at the bottom” or the warmth (yellow vs blue for cooler or warmer tones, which can be found in the “color” tab.
Now download that edited imaged to your phone, post away and don’t forget to tag us @theoverwhelmedmommy so we can see!

